Amazon ECR is integrated with Amazon Elastic Kubernetes Service (Amazon EKS), Amazon Elastic Container Service (Amazon ECS), and AWS Lambda, simplifying your development to production workflow.
Amazon ECR hosts the images in a highly scalable and available architecture, allowing you to deploy containers reliably for your applications. It’s important to delete untagged and old images to maintain hygiene.
Today, applications run as micro-service. The term micro-service is nothing but a container that packages all the code and its dependencies so the application can run quickly and reliably in any computing environment. Due to their portability, small size, and convenience, containers are becoming a method of choice for shipping modern applications.
Containers are designed from a read-only template called an image. These images need to be stored somewhere so they can be retrieved by any machine authorized to use them.
That’s where a container registry comes in. Not long ago, folks used DockerHub to store these images and artifacts. But, if you are using AWS cloud services, I am sure you are already using AWS ECR, which is an alternative to DockerHub.
AWS ECR is a fully managed container registry that provides high-performance hosting, allowing you to deploy application images and artifacts in the form of public and private repositories.
Every day, multiple AWS-hosted applications push and pull millions of images/application artifacts into/out of specific ECR repositories.
In this article, we will discuss how to clear old and obsolete AWS ECR and keep ECR repositories clean.
The Need: Delete Untagged and Old Images Now!
The primary reason for cleaning ECR repositories is development hygiene. At any time, no one would want to keep images older than ten deployments in their ECRs. It is also because rollbacks frequently happen in the industry, but a rollback that reverts the change from 5 artifacts earlier is rare.
In simpler terms, any image/artifacts more than five deployments old are useless. It is subject to change on your organization’s strategy report, but we wouldn’t recommend it as a best practice.
Across the industry, tagging is used to specify the most stable latest or last five latest images. As a part of the software development life cycle, the images are generated rapidly, and these tags are replaced with new images, leaving the older images untagged and useless.
In situations like this, where images/artifacts are large, it will also add storage charges on ECR. The pricing of AWS ECR is “$0.10 per GB / month for data stored in private or public repositories”.
This price might look small to you, but as they say, drops make up the ocean. All these images, if put in store for a longer period, will add higher bills to your AWS invoices.
The suggestion is to clear these old and untagged images out of your ECR repositories because you do not need them! Simple! Why keep it and pay for it?
Deleting AWS ECR Images Manually
Method 1: The GUI Way!
Step 1: Log in to the Amazon Web Services account and head to the repository you want to clear.

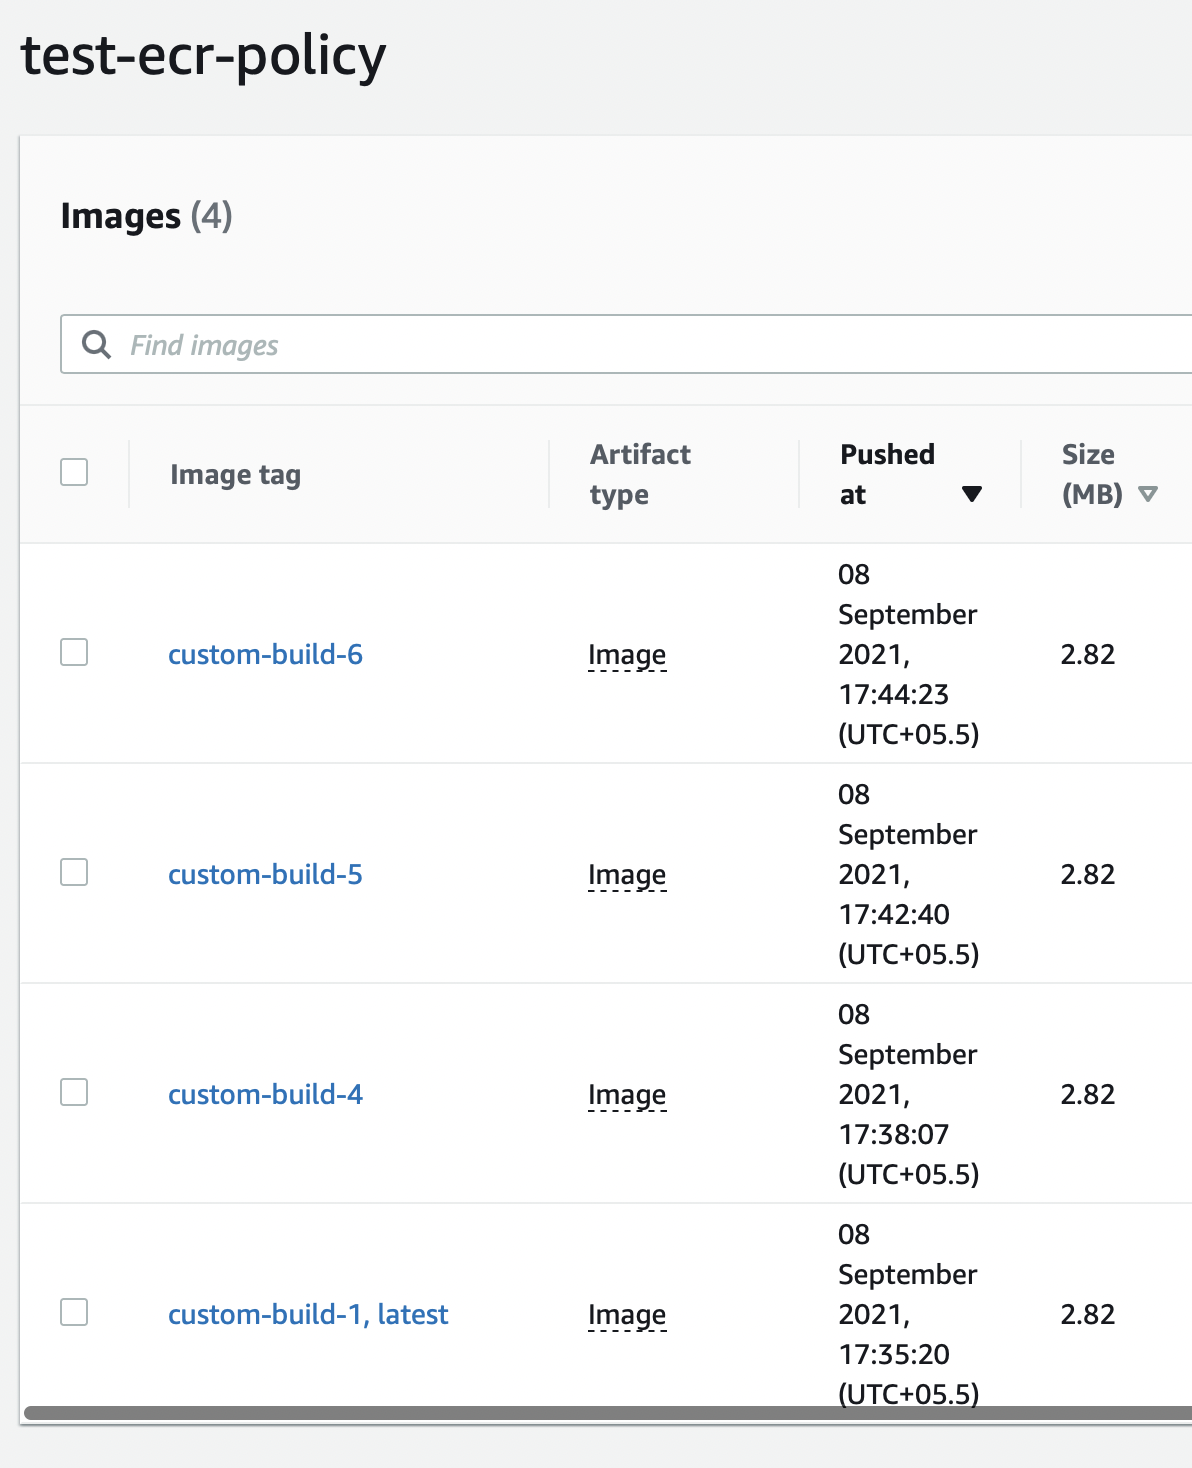
Step 2: Here, you can see that the repository has the latest tag to specify the most stable version. The other tags that you see can be called untagged. To delete, we just need to select the image and click delete.

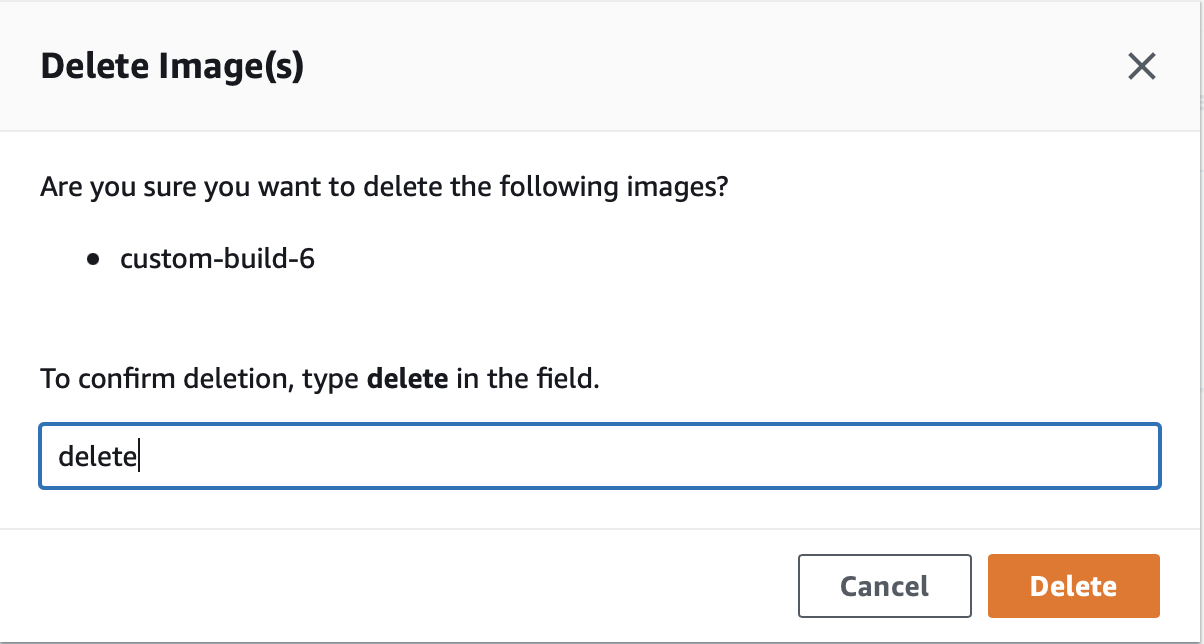
Step 3: Confirm to Delete

Method 2: The CLI Way!
To delete an image using the CLI, you will need all AWS IAM access keys configured on your machine and the required IAM permission to give you access to the repositories.
In this case, we have already configured it. You can do it from the AWS configuration basics guide if you haven’t already.
If unsure that you have configured AWS CLI on your machine, use the following command to verify.
aws sts get-caller-identityNow that we have confirmed that we can use the AWS CLI, you can use the following command to delete an untagged ECR image.
aws ecr batch-delete-image --repository-name test-ecr-policy --image-ids imageTag=custom-image-6
Here we are doing something similar to what we did in the GUI. We will delete the image tagged as custom-image-6 residing in the repository test-ecr-policy.
Method 3: The Scripting Way!
The prerequisite for this method is having an AWS Access key configured in the machine you are running on.
Script to delete untagged images.
import boto3

client = boto3.client('ecr')

response = client.list_images(repositoryName='test-ecr-policy')

untaggedImageList = [image for image in response['imageIds'] if image['imageTag'] == 'custom-build-4']

response2 = client.batch_delete_image(repositoryName='aws-test-ecrpolicy', imageIds=untaggedImageList)

print(response2)
The response would give you the list of deleted image IDs, along with a failure if there were any.
Scheduling Method to Delete ECR Images
If you are a DevOps engineer or regularly manage AWS ECR, you will already know the pains of deleting these images manually.
Running the script/command does make things easier, but we are sure you would have wished for something that would automatically delete these images on their own without you having to worry about them.
Good News, AWS ECR offers a Lifecycle Policy for your images, which you can set to delete these images in a timely or scheduled manner. Let’s see how to do it.
Method 1: The GUI Way!
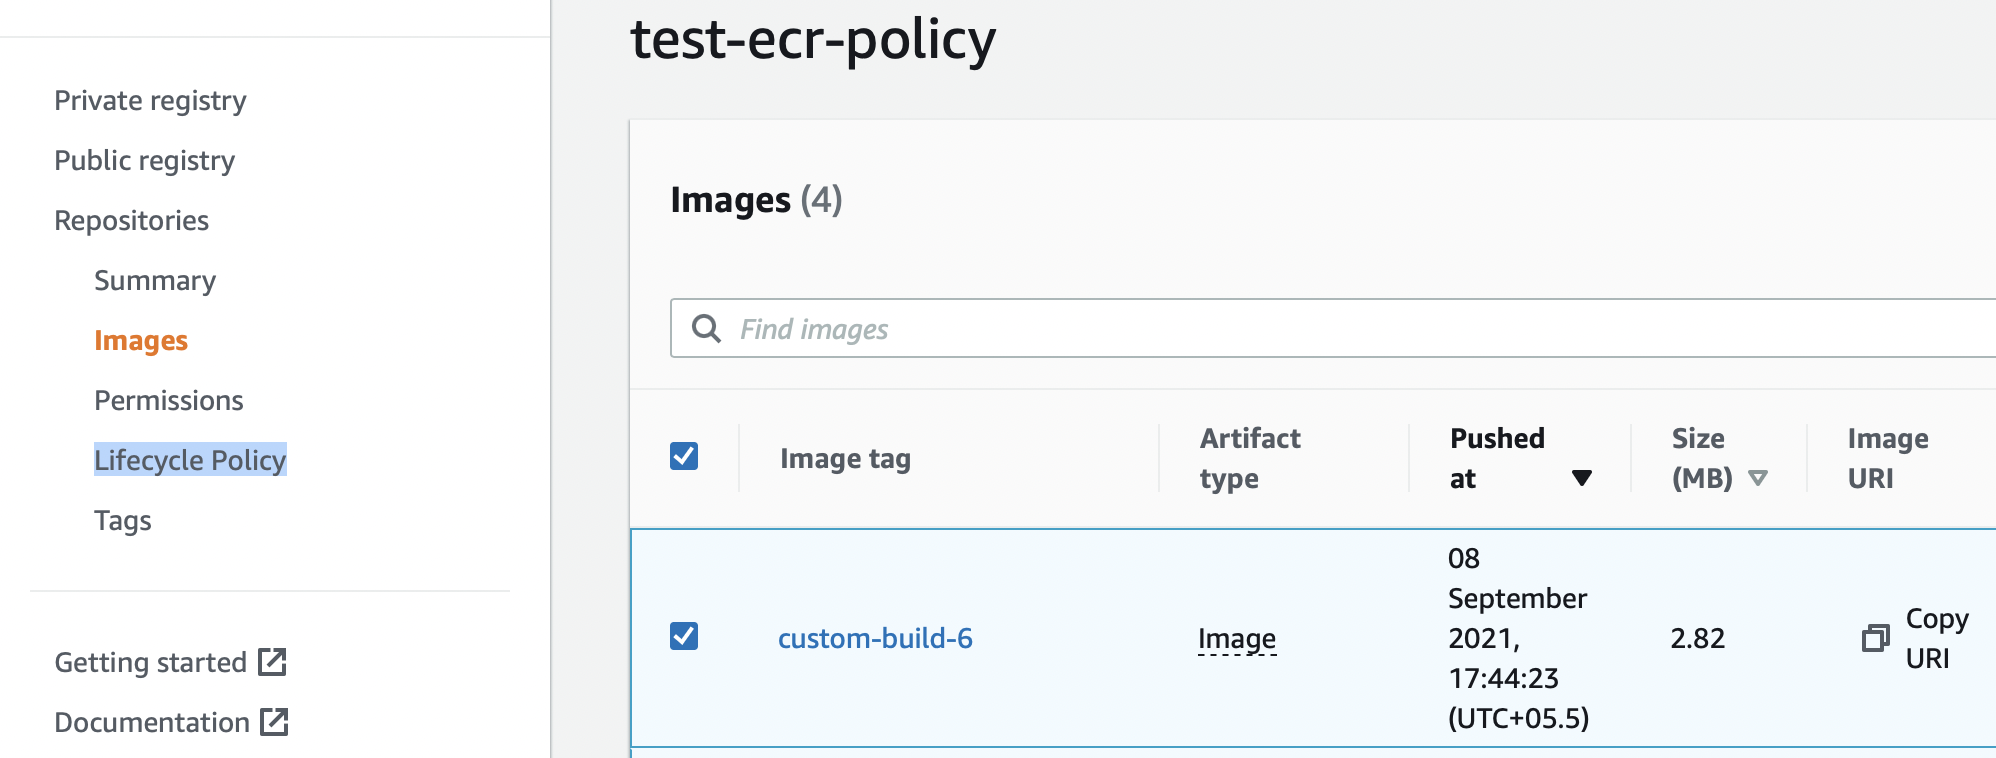
Step 1: Head over to the repository where you want to set the Lifecycle policy. On the left panel, you can see the Lifecycle Policy. You can click on it to get started.

Step 2: You can click on it and create your first rule.

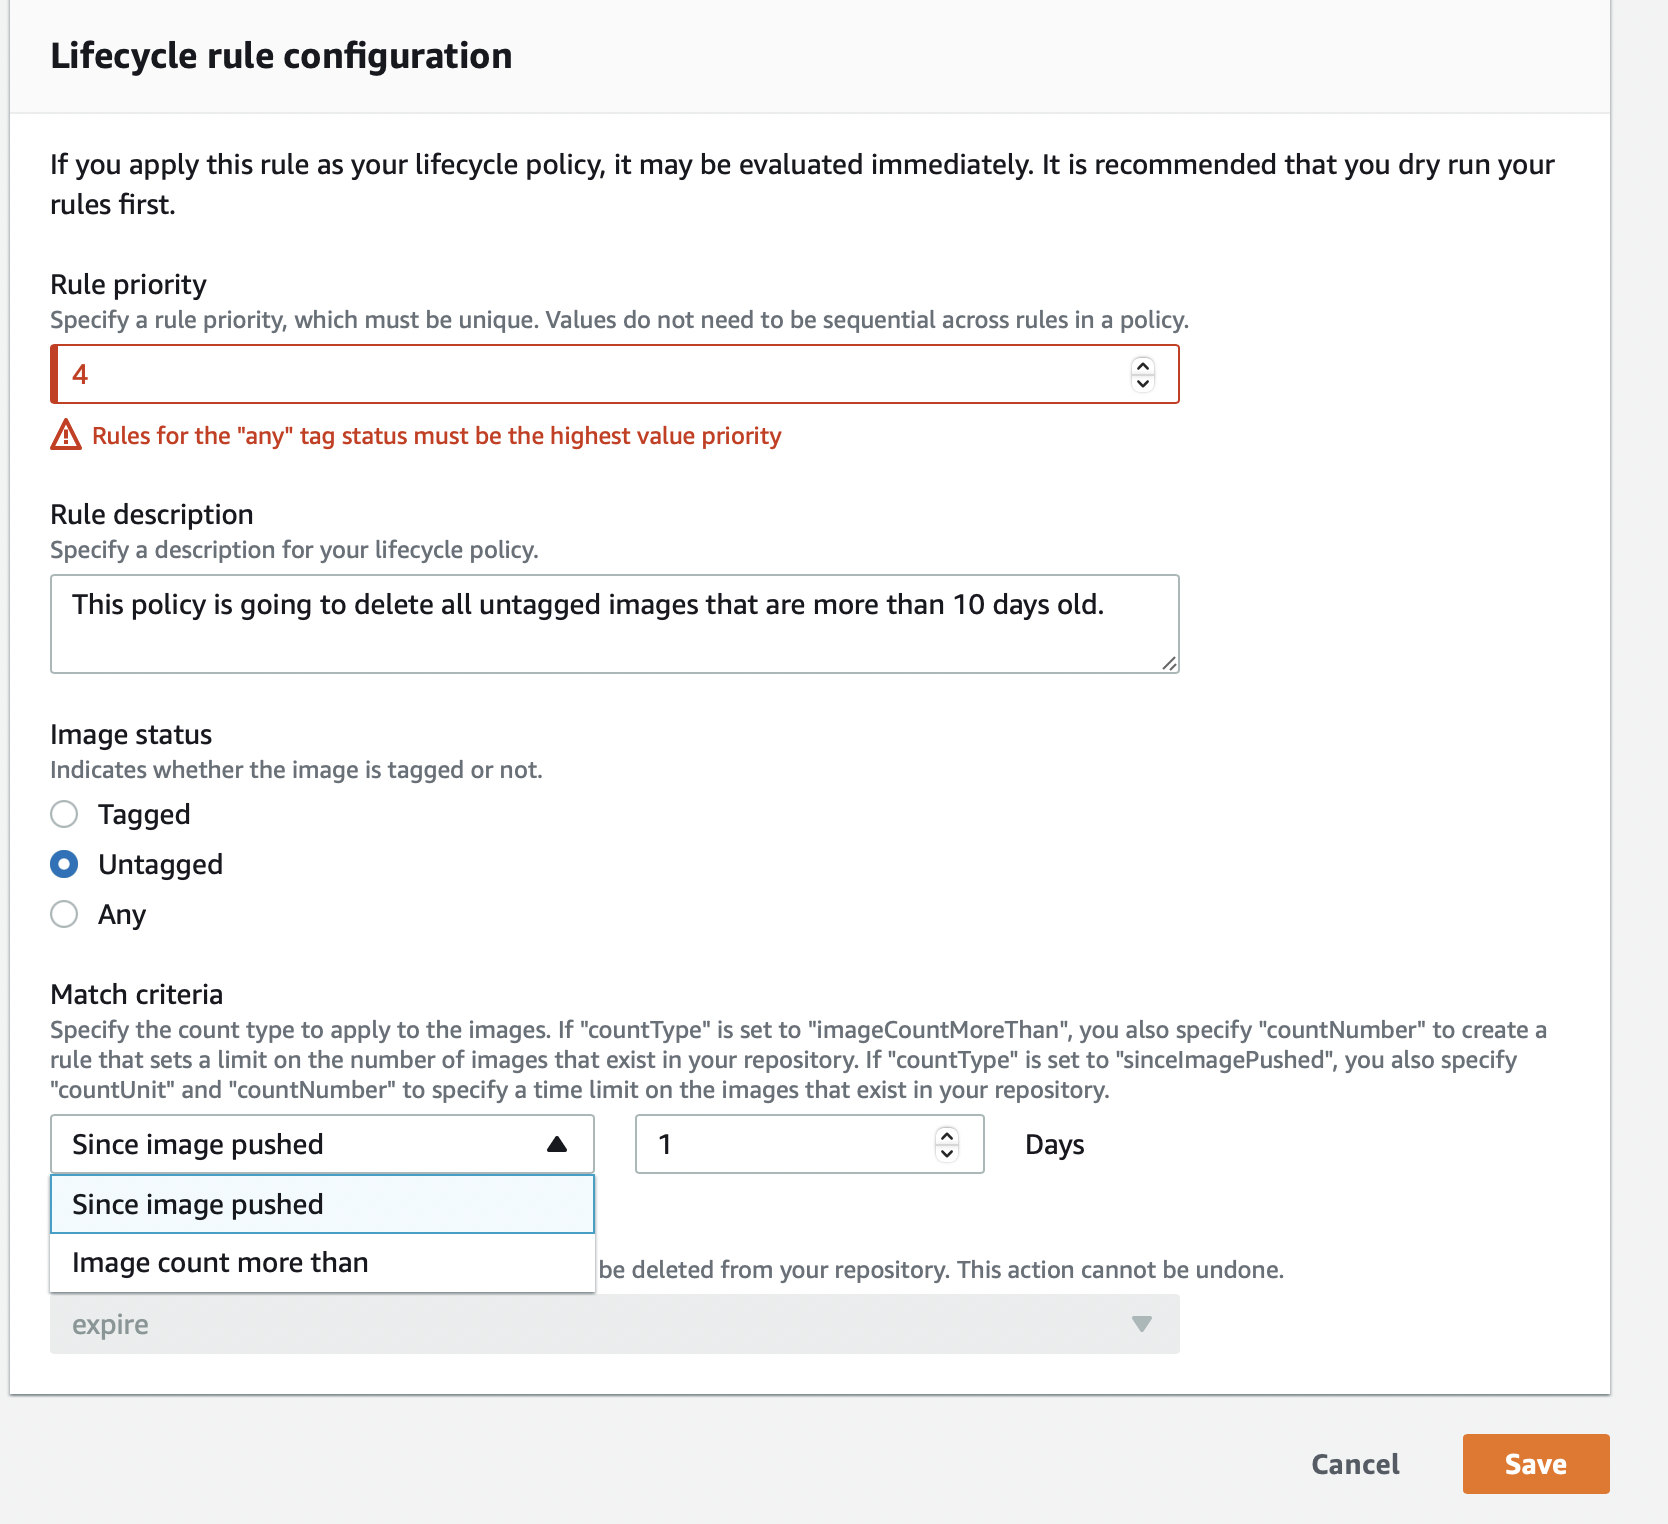
Step 3: ECR allows you to delete images on two conditions, one being if your images get specified days old or if they are tagged/untagged, and you want to retain them only for, say, X number of days.
Let’s see how it is done. Now you can set whether you want to delete untagged images if they are one day or older or if the image count of untagged images exceeds one.
Choose according to your use case. Don’t forget; you can increase these numbers to the number of your choice. Save to trigger the Lifecycle Rule.

Method 2: The CLI Way!
The AWS ECR CLI command to set lifecycle policy is put-lifecycle-policy.
Let’s see how to do it. For this, you must create a JSON file listing the policy conditions. You can name it policy.json or any name of your choice.
But before that, let’s look at the lifecycle policy elements.
rulePriority (Type: integer, Required: yes):Lower-to-higher rule order. Lifecycle policy rules with priority one are applied first, then 2, etc. Lifecycle policy rules must each have a unique rule value.
Policy rules don’t need consecutive values. Any-tagged rules must have the highest rulePriority and be reviewed last.
description (Type: string, Required: no):Explains what a rule in a lifecycle policy is for.
tagStatus (Type: string, Required: yes):It checks if the added lifecycle policy rule specifies an image tag. Tagged, untagged, or any is OK. If none is specified, all images are evaluated. Tagged requires a tagPrefixList value. Untagged requires omitting tagPrefixList.
tagPrefixList (Type: list[string], Required: yes, only if tagStatus is set to tagged):If “tagStatus” is “tagged,” your lifecycle policy requires a comma-separated list of image tag prefixes.
Using the tag prefix prod, you can specify all images marked prod, prod1, prod2, etc. Multiple tags pick only images with all tags.
countType (Type: string, Required: yes):Specify countNumber if countType is imageCountMoreThan to limit the number of images in your repository.
Specify countUnit and countNumber if countType is sinceImagePushed to limit the repository’s images.
countUnit (Type: string, Required: yes, only if countType is set to sinceImagePushed):Only specify a count unit when countType is sinceImagePushed; otherwise, an error occurs.
countNumber (Type: integer, Required: yes):Positive integers only (0 is not an accepted value). If countType is imageCountMoreThan, the value is the maximum number of photographs to keep. Using sinceImagePushed as the countType determines the maximum image age.
type (Type: string, Required: yes):Choose a type of action. The value that can be used is “expire.”
Here is my “policy.json.”
{

"rules": [

{

"rulePriority": 1,

"description": "Expire images older than 10 days",

"selection": {

"tagStatus": "untagged",

"countType": "sinceImagePushed",

"countUnit": "days",

"countNumber": 14

},

"action": {

"type": "expire"

}

}

]

}
According to your organization’s requirements. “sinceImagePushed” can be replaced with “imageCountMoreThan”.
The CLI command to set this policy would be:
aws ecr put-lifecycle-policy --repository-name "test-ecr-polict" --lifecycle-policy-text "file://policy.json"Method 3: The Scripting Way!
We will be using the boto3 command to achieve this. We can use the same “policy.json” to set this up. Below is the used code snippet.
import boto3

client = boto3.client('ecr')

response = client.put_lifecycle_policy(
registryId='PODES12342',
repositoryName='test-ecr-policy',
lifecyclePolicyText='plicy.json'
)

print(response)
How do Apply a Single Policy Across Multiple ECR Repositories?
Often, there are questions on how to apply the same policy across multiple repositories.
It is a repetitive and boring task to set policies manually.
Here is a code snippet that can be used in the production system to apply a policy across 100s+ repositories.
from boto3 import Session,client

from os import getenv
AWS_ACCESS_KEY_ID = getenv("ACCESSKEY")


AWS_SECRET_ACCESS_KEY = getenv("SECRETKEY")
session = Session(
aws_access_key_id=AWS_ACCESS_KEY_ID,
aws_secret_access_key=AWS_SECRET_ACCESS_KEY
)

client = client('ecr')

response = client.describe_repositories()

repositories = response['repositories']

globalLifecyclePolicy = 'put your policy here’’

for repo in repositories:

repoName = repo['repositoryName']

client.put_lifecycle_policy( repositoryName = repoName,lifecyclePolicyText = globalLifecyclePolicy)
Conclusion
We can easily construct an ECR lifecycle policy and destroy older images according to the specified parameters. AWS provides extensive documentation as well as samples of lifecycle policies.
You can also experiment with alternative policies for tagged images, such as matching criteria with the date the image was uploaded.
You may also explore some AWS Key Terminologies that advance your AWS Learning.

