Most baseline or general purpose Mac users aren’t familiar with Mac terminal commands or the legendary Mac terminal – a more raw form of computer navigation or talking to the computer in its mother tongue.
And Apple doesn’t expect the business users to understand the terminal’s power, like it doesn’t expect coders to utilize Pivot Tables. What we see in front of us, the MacOS, is a Graphical User Interface, beautified and polished for the consumers.
Thus, navigating through the terminal is more complicated than hovering the mouse on the trackpad. In this article, you will discover the Mac terminal commands and get a terminal command cheat sheet, in the end, so you never have to search the web again.
And yes, for laypersons, I’ve included the basics after those Mac terminal commands you must be impatient to know. Let’s go! But first, let’s get to know the basics!
Mac Terminal Commands
Let’s now discuss some of the mac commands you use.
Most Used Mac Terminal Commands

Since the advent of the Mac, it has been a preventive operating system that cuffs and checks on privacy, security, and accidental software damage.
Therefore, Mac hides all these files from the user vicinity to prevent accidental modification or deletion of elemental files from running many tasks on a mac.
If you needed to locate a file or folder, however deep it might be sitting in the finder, here’s what you can do.
In a Terminal window, type :
defaults write com.apple.finder AppleShowAllFiles -bool TRUEAnd then, type:
killall Finder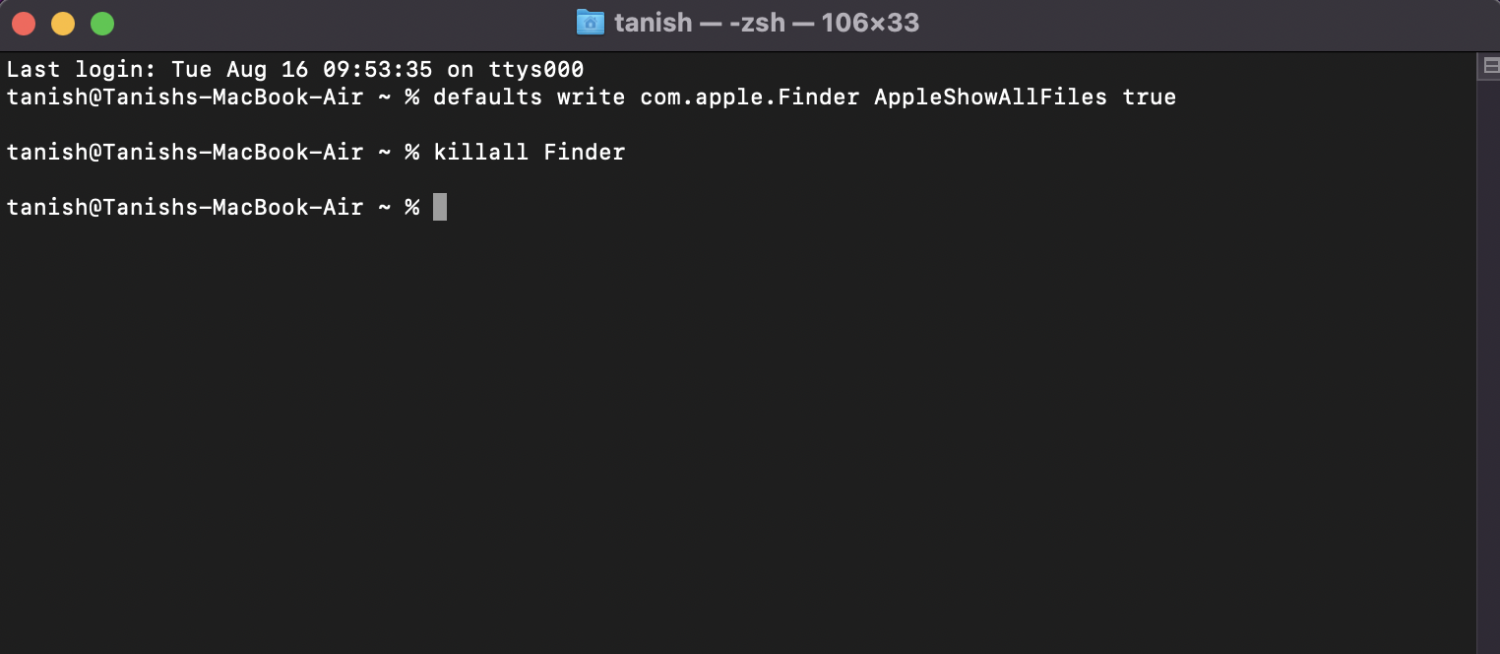
Voila, all your hidden files show right away, although you should be careful of making any little click on those.
Keep Your Mac Awake
Sometimes you’re between specific tasks across multiple time-sensitive apps, such as downloading data files or importing/exporting media files.
Sometimes, you might want the Mac to stay up even if you are not around for a while or can’t poke the mac trackpad to prevent it from falling asleep.
Although some free apps let you do so, commanding the terminal is cooler.
Simply type:
caffeinate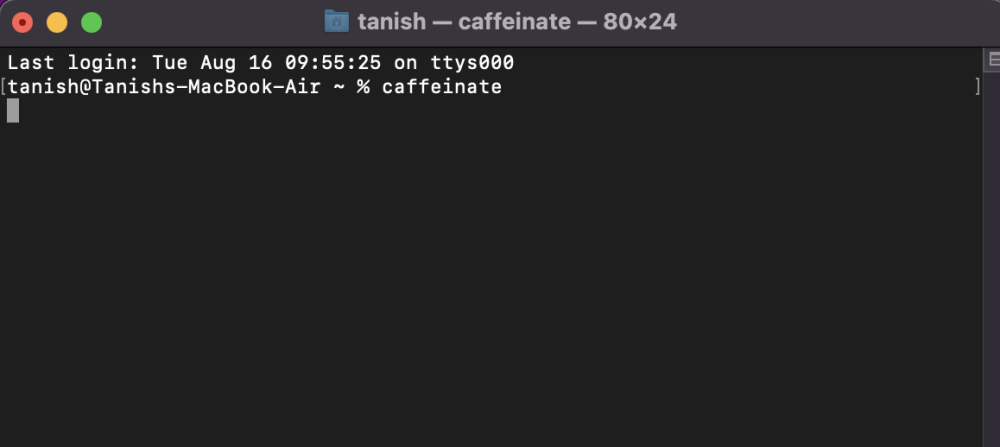
And now your Mac will not sleep until you press the ‘Command + C’ buttons or exit the terminal.
Command Your MacOS to Check Updates Frequently
Are you too lazy to keep a tab on the frequent updates rolled out for your Mac? You need not compromise on your machine’s security and reliability – you should let your Mac update itself to the latest security patches and system improvements.
To follow up with this command, just type:
softwareupdate -l
The terminal will show you a list of updates available. If you want to install it, just type:
sudo softwareupdate -i update_pkg_nameDownload Files From the Internet Using Terminal

It’s easier to use the GUI of Safari for downloading something, but with Terminal, you get additional stats like file size, remaining time, and download speed.
Or others find this cool.
To use the Terminal for this purpose, type:
curl -O <URL>And then, paste the URL of the file you want to download after curl-O.
You can avoid using “<>”; that’s an intersection.
Kill Actively Running Computer Processes

macOS is outstanding in many terms; however, it still involves technicalities, and some processes might fail to respond or unexpectedly hang. So, in situations like that, there are two simple ways to kill processes.
#1. By PID: If you know the process ID, you can put it after the Kill command and terminate the process. To do so, type:
Kill<PID>#2. By Name: This method also uses the kill command, with the process’s name attached. Here’s the command for it:
Killall<Processname>For example, killall Skype will terminate all the processes with Skype in their name.
Clear the History
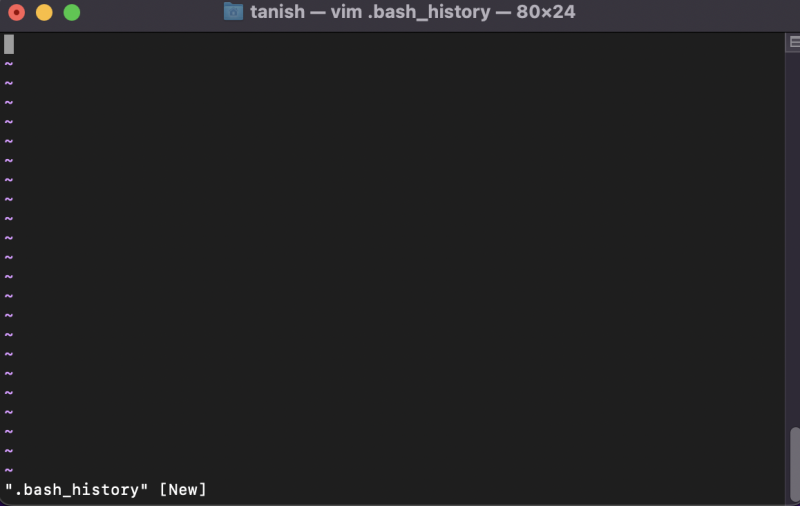
To only clear the previous commands in your current terminal session, you can erase them with the following command.
$ history -cThis is called the Bash history; as referenced below, you can clear every single command to date using the bash history command.
$ rm ~/.bash_historyChange the Folder to Save Screenshots

This utility requires 4 sets of commands to execute but helps you change the default location of your screenshots within Terminal.
Step 1: First Command to locate the current folder:
defaults write com.apple.screencapture location ~/Documents/ScreenshotsStep 2: 2nd command to apply the changes:
killall SystemUIServerStep 3: 3rd command to specify a new location for screenshots:
defaults write com.apple.screencapture location ~/DesktopStep 4: A final command to apply the new changes and confirm the new location:
killall SystemUIServerThere you have it.
To Change the Default Name of Screenshots

Type in the below command in your Mac’s terminal to change the screenshots’ default name.
defaults write com.apple.screencapture name "iDB"To change the default name, replace the iDB with any word you’d like your screenshots to be named after for better reference.
Once done, you would enter a new command to save the changes made –
killall SystemUIServerTo Change the Default File Type For Your screenshots
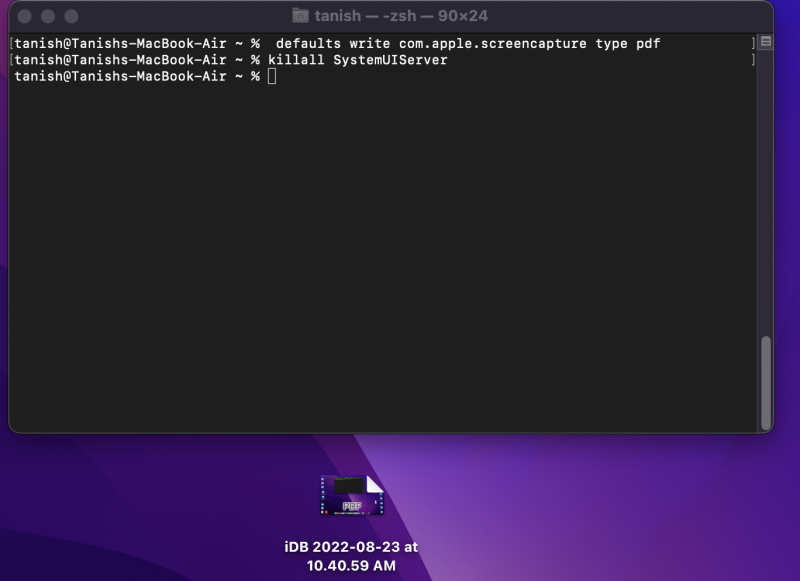
Just type the below command in your terminal window.
defaults write com.apple.screencapture type Once done, you could replace “type” with any of the five legacy formats for saving screenshot files. It could be either PNG, JPG, TIFF, GIF, or PDF.
Make sure to enter a space bar between the location of the file and the format of the file. Then press enter.
To Kill Dashboard/Regain Dashboards

To disable or kill the dashboard, use the following command.
defaults write com.apple.dashboard mcx-disabled -boolean YES Then kill the dashboard by killing the Dock (the Dock will reload itself, don’t worry):
killall DockAnd vush! Your dashboard will disappear from the screen.
However, if you start missing it, you can paste the below code to regain it:
defaults write com.apple.dashboard mcx-disabled -boolean NOThen after, type this command to kill the doc and reload the now activated Dashboard:
killall DockCheck Your Mac’s Download History and Delete It
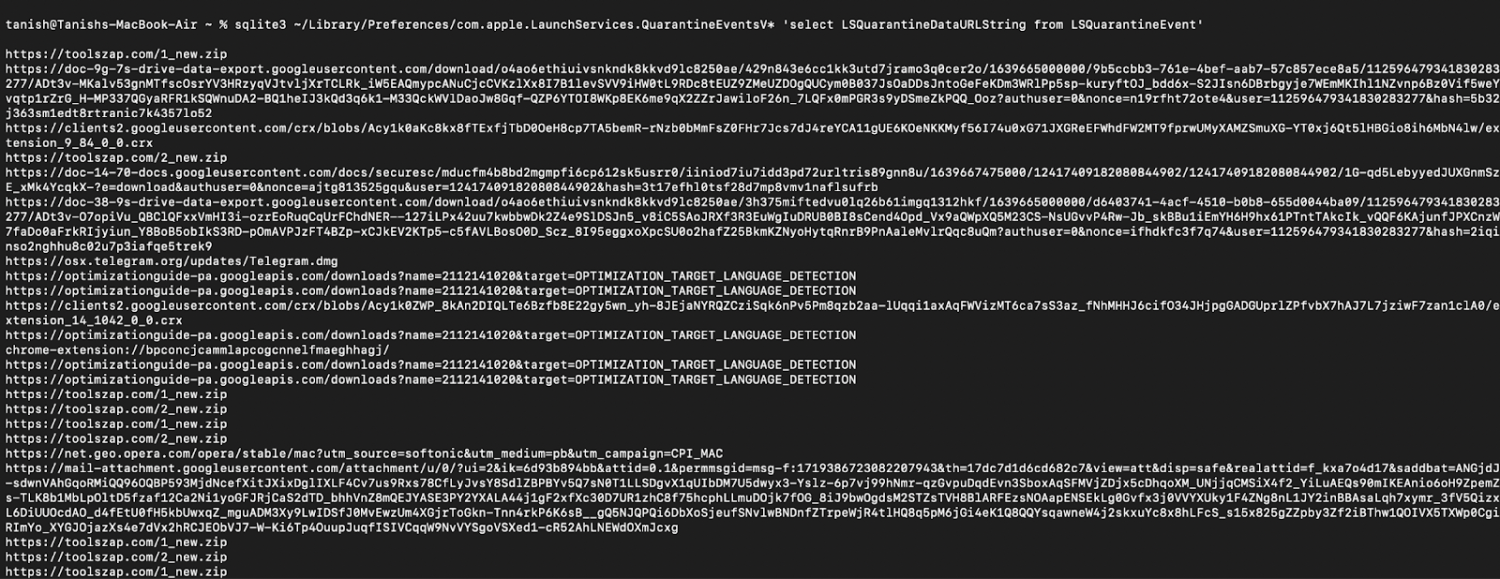
Simply copy and paste this command to view your complete download history:
sqlite3 ~/Library/Preferences/com.apple.LaunchServices.QuarantineEventsV* 'select LSQuarantineDataURLString from LSQuarantineEvent'This will list all your downloads from Safari and other apps.
If you want to delete your entire history:
sqlite3 ~/Library/Preferences/com.apple.LaunchServices.QuarantineEventsV* 'delete from LSQuarantineEvent'Here you go.
Note: Your Mac will keep creating new download history, so you might need to check and delete it regularly.
Miscellaneous Terminal Commands to Make Your Life Easy

Change the Directory
If you want to change the directory you are currently in, typing cd in the terminal allows changing your disk from one location to another while inside the terminal.

Make the Directory
mkdir command will create a fresh new folder within your current folder, although you will only be able to make one folder per command.
On the other side, to create a hierarchy of new folders, you can use an addon parameter like -p such as the command below:
Example command:
mkdir new-folder
mkdir -p pathbpathc/new-folder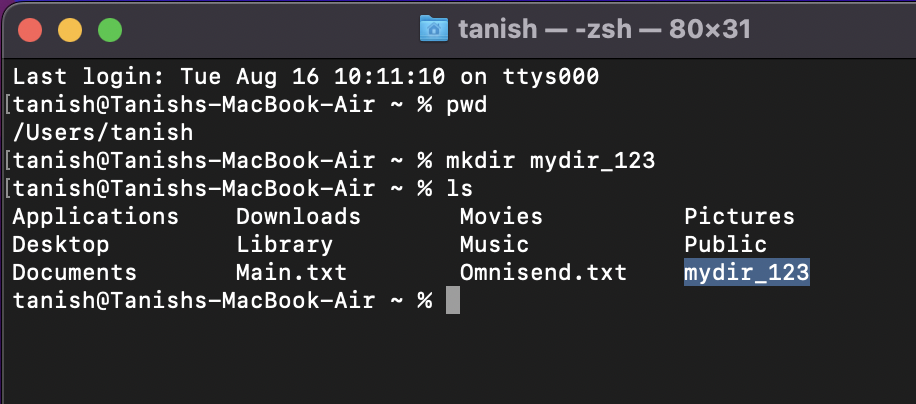
Copy a File (cp)
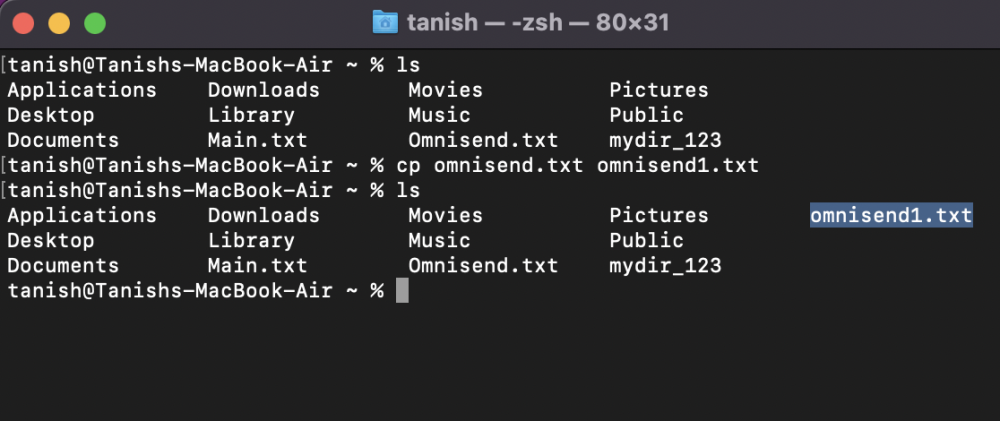
If you want to copy a file from one location to the other, cp command will help you do it. Also, you can copy an entire folder using the -R flag.
Remove Directory Commands (rm and rmdir)
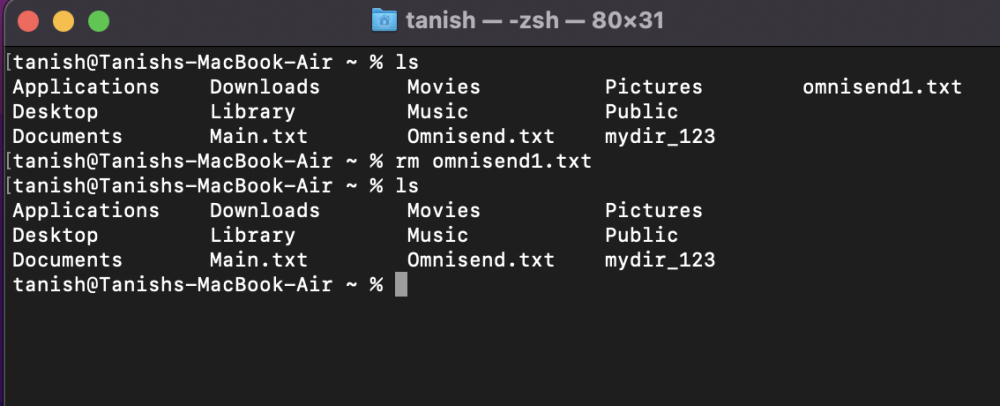
This command comes to help when you want to get rid of a file or folder entirely. Simple rm removes the file while rmdir removes an entire directory. You must be careful when indicating this command and make sure you don’t delete something prominent accidentally.
Text File Commands (cat, more, less)
Using this command, you can view the contents of a text file (cat), expand the text to read more (more), and collapse the text(less) when you want to read a little about the file’s contents.
It lets you view the content of a text file.
Example command
cat .bashrc
more .bashrc
less .bashrc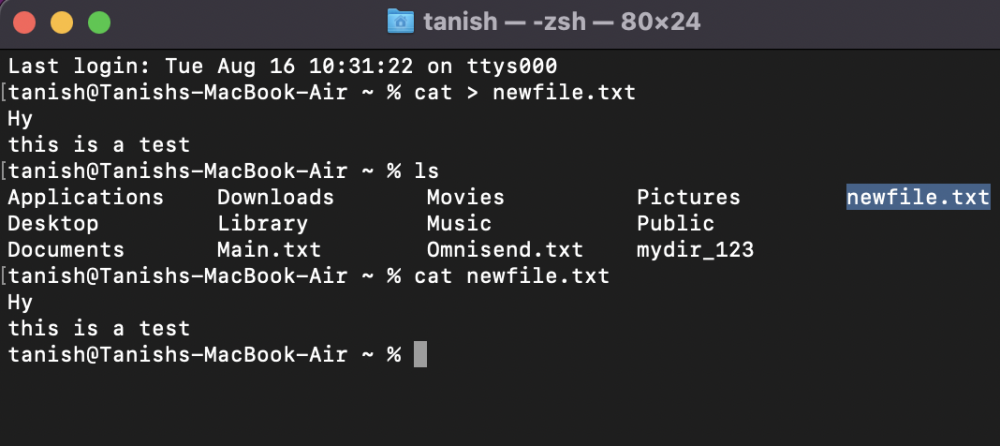
grep Command
grep helps find keywords function we have in document software; you can specify the keyword you want to be specified in the document or look for it in an already existing document.
The result will be a number (as seen in the image above) representing the number of matching lines with the keyword you plug in.
cat mylargefile.txt | grep john
Check the Remaining Storage of the Disk (du)
To check the remaining storage or current usage on your disk or multiple disks, du command helps drill down on how much space is being consumed by all your files and folders individually.
A sample command would be:
du -hs Music
Display the User Manual (man)
man command to understand what a particular command would do; it tells you the purpose, the arguments it could throw, and what kind of flags you could use to execute a tailored command (like a manual).
man ls
man rmdr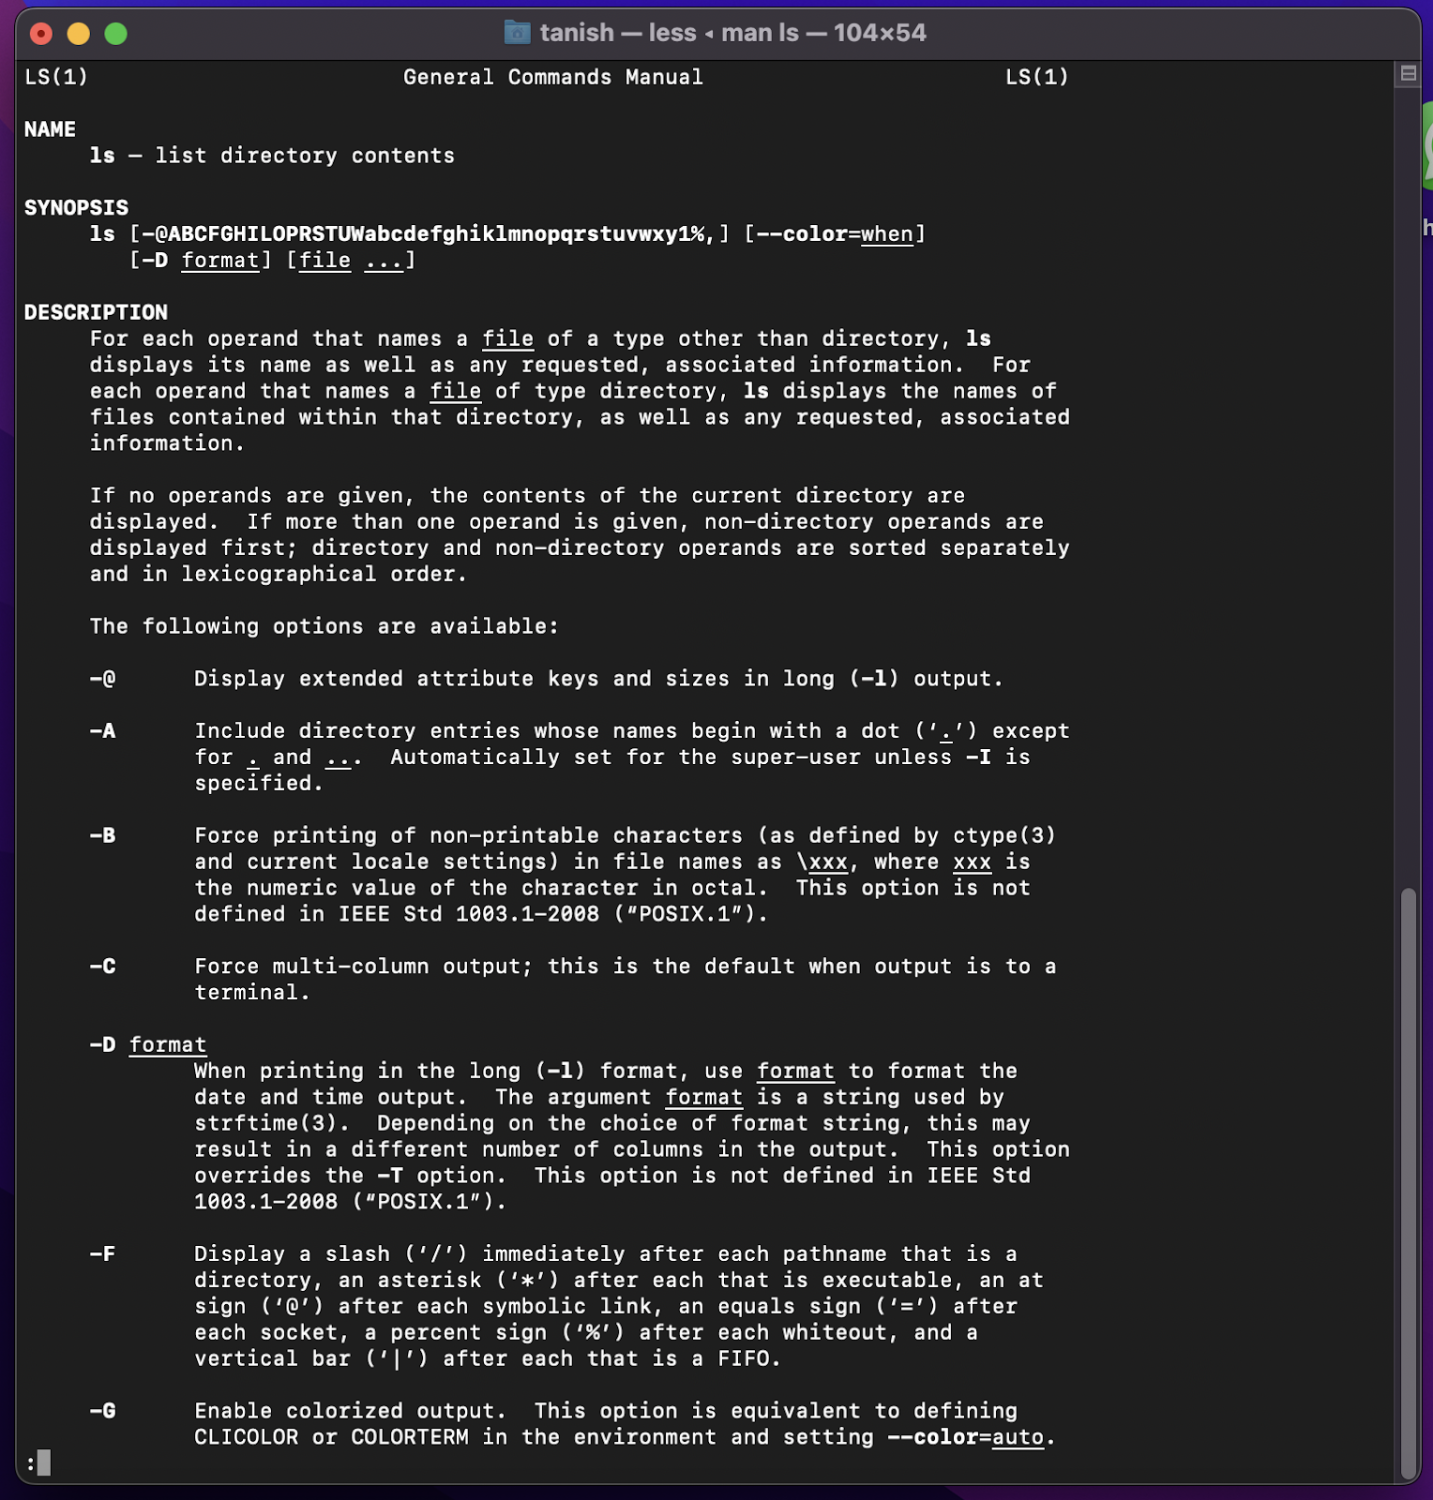
Apart from these commands, we have curated a terminal command cheat sheet for you so you never have to stop and look for commands anywhere on the web.
Terminal Commands Cheat Sheet
| Command | Action |
| Change Directory | |
| cd | Home Directory |
| cd [folder] | Change directory |
| cd/ | Root of the drive |
| pwd | Shows your working directory |
| File Size and Disk Shape | |
| du | Show usage for each subdirectory and its contents |
| du -s | Display entry for specific files |
| df -h | Calculate and show your system’s free disk space |
| File and Directory Management | |
| mv <file> <newfilename> | Move/Rename files |
| mv -i <file> <dir> | Optional -i flag as a warning before overwriting the file |
| mv <file> <dir> | Move a file to the folder |
| Permissions | |
| Is -ld/<dir> | Display the permission (read/write/access) of a particular folder |
| chmod -R 600 <dir> | Change folder permission (and its contents) to 600 |
| chown <user>:<group> <file> | Change the ownership of a file |
| Processes | |
| ps -ax | Output currently running processes. Here, a – shows processes from all users – shows processes connected with the Terminaltop -ocpu -s 5Display processes sorted according to CPU usage (updating every 5 seconds)kill PIDQuit process with ID <PID>. PID is a column in the Activity Monitor |
| Network | |
| ping <host> | Clink host and display status |
| curl -O <url/to/file> | Download file via HTTP, HTTPS, or FTP |
| arp -a | Display a list of all devices on your local network (shows you the IP and MAC address) |
| ifconfig en0 | View your device IP and MAC address |
Now, after that intense session, let’s finally start with the light stuff. It’s time for a look at the basics.
What is a Mac Terminal?
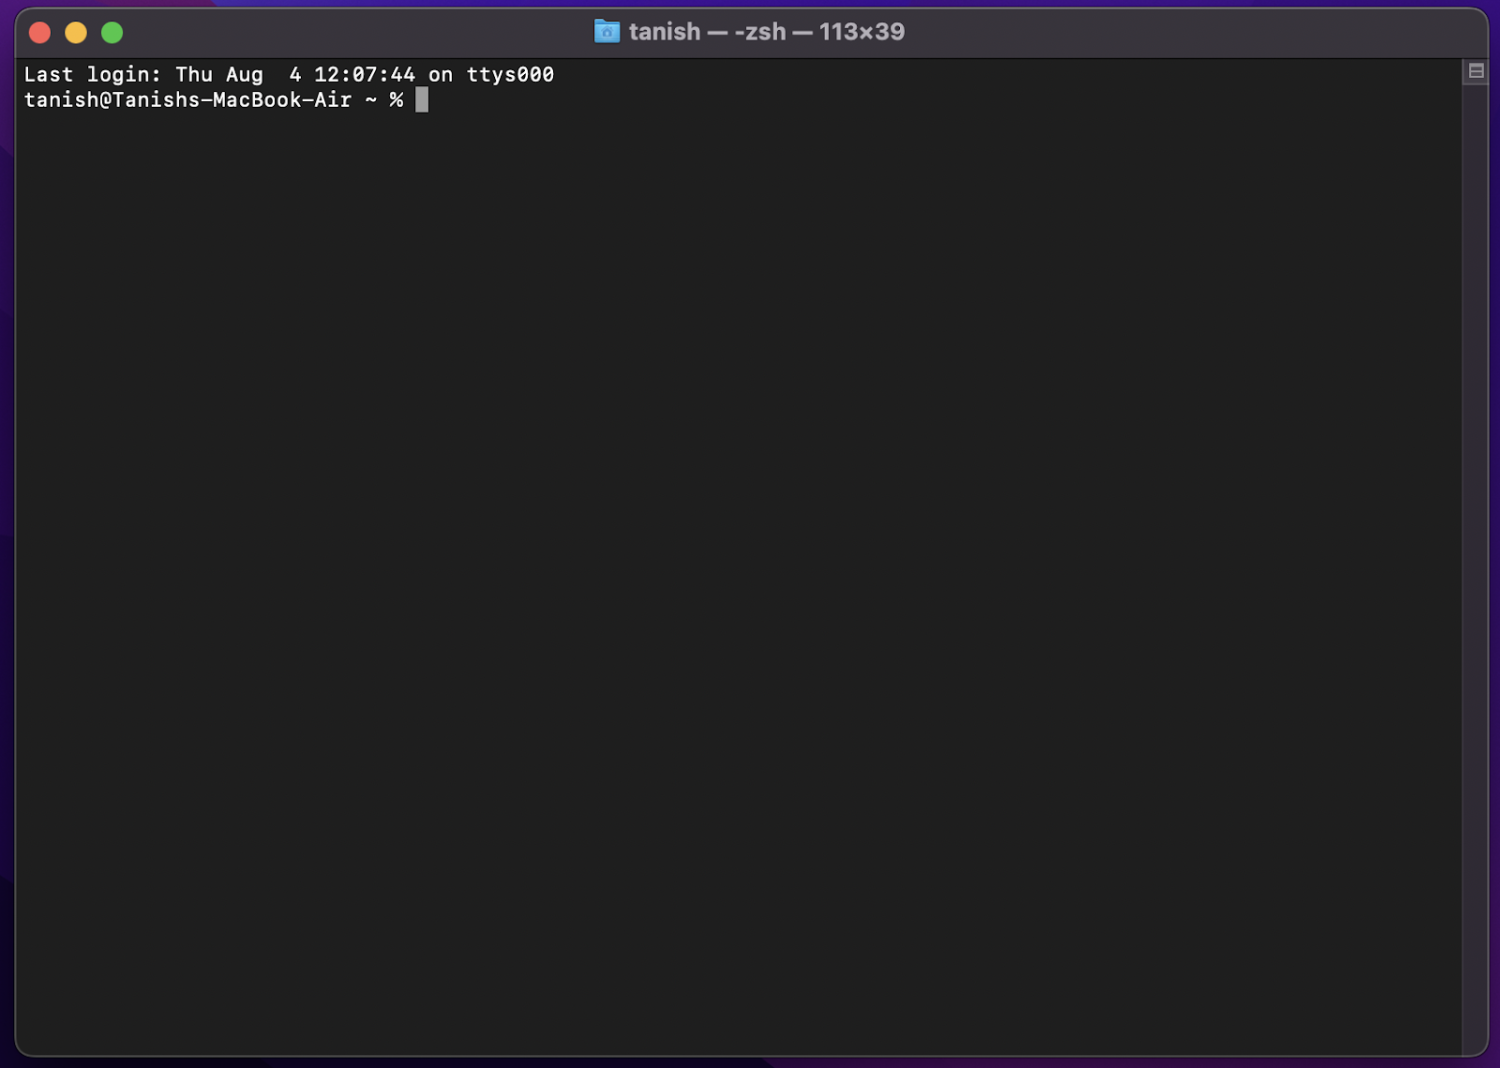
Mac terminal is the built-in shell environment on Mac Operating System that allows you to issue text-based UNIX commands directly.
In simpler terms, the Mac terminal is an application that gives you access to a deeper level of engineering on your OS. The application can be found in your Mac’s ‘Utilities folder, or you can search for it in the finder.
You launch it like any other app, and when you do, you’ll walk through a Unix command-line environment, popularly known as a shell (Apple uses one called Bash).
Note: You can run other shells with the terminal, but you’ll have to install those yourself. Commands in Unix are shell-specific, so it’s essential to use the right combination of shell and commands for desirable results.
Pivoting back to the Mac terminal, we would say.
Using a terminal is like speaking another language; once you’re familiar, you will find it pretty helpful.
The terminal is typically designed for network administrators and tech-savvy users who want to perform an action not supported by the operating system’s graphical user interface (GUI).
Unlike a traditional GUI app, where you navigate by clicking buttons with the mouse, the terminal works on a simple command line interface. That means you interact with the system by typing in commands (keywords or phrases) that tell the terminal what to do.
Apart from doing things that a GUI does, you will run into thousands of features that aren’t possible without a terminal.
Put using a terminal is straightforward: you type a command on the command line and press Return to execute it.
But first things first, how to launch the Mac terminal?
How to Open a Terminal on Mac?
There are two proven ways to open a terminal on Mac. Let’s get started with the simplest one.
Spotlight Search
You can start by pressing “command button + space,” which will open up the ‘Spotlight’ search bar, and then type in ‘Terminal’ to launch it.
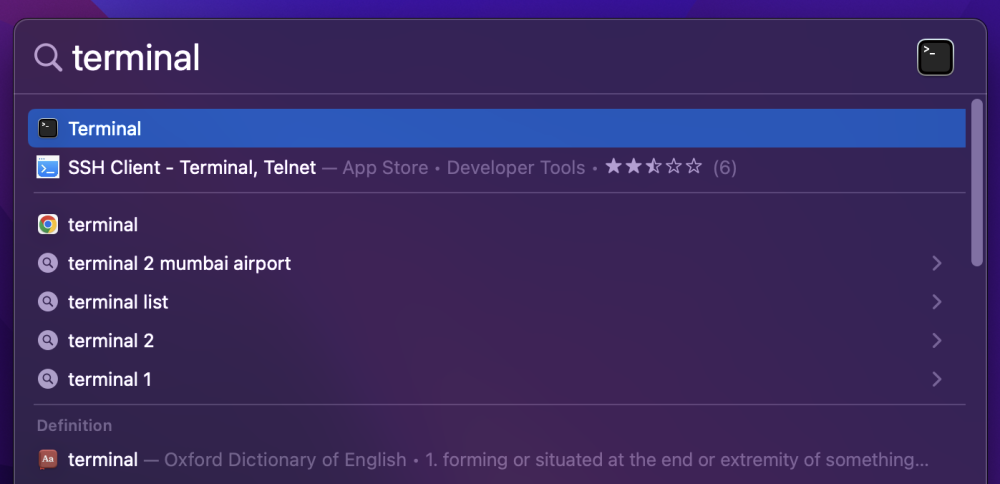
You can quit by pressing “Command + Q.“
Open From Finder
Press Command + N’ to open the finder and press ‘Command + Shift + U’ to open utilities directly.

In the utilities folder, you’ll find the application called terminal.

Terminal Tricks You Should Know
You’d want to know a few things about the terminal before you hit the ground running on your journey to be the coder sitting in a darker dorm room.
- Mouse and keyboards are forbidden; the terminal doesn’t register input from either of these major input devices for human interfaces. The right, left, up, and down arrow keys are your only resort.
- To repeat a command, you can push the keys to the previously used commands and select it for repurposing it, which saves you the re-type.
- In the Terminal, even a Space Bar is considered a character – rather than a blank space. The same goes for punctuations, special characters, and numbers. One slip-slop on any character will bring you the undesirable output until you hawk the command lines and luckily spot the minor error. Tread lightly into the terminal, we’d say.
- To enter a command, you can press the Enter/ Return key; once done, it will run the command and write the results to you in real-time.
After knowing all this, one can’t help looking at the Mac in an entirely new light. Keep the cheat sheet handy so that you have no problem navigating through the various aspects till you get used to them.
Wrapping up
Terminal, if used wisely, can help you magically explore your Mac.
However, one should know the commands and functions used in the terminal.
The cheat sheet of 30+ mac commands will help you try and test new commands and learn more about the Mac terminal.

