JavaScript has been ranked consistently as most developers’ favorite programming language.
Over 63% of the respondents interviewed in a 2023 Stackoverflow survey said they use JavaScript. On the other hand, Visual Studio code is a popular integrated development environment (IDE). The same survey showed that VS Code is the most preferred code editor, with over 73% of the respondents voting in its favor.
Visual Studio Code supports JavaScript, among many other languages. In this article, I will describe the importance of running JavaScript in Visual Studio Code, how to create a JavaScript project/ write code, give a step-by-step guide to running JavaScript in VS Code, and the best practices for running JavaScript code in VS Code.
Importance of running JavaScript in VS Code

JavaScript is among the few languages that are supported out-of-the-box in VS Code. These are some of the reasons why you may want to run JavaScript on VS Code:
- Execute and test code: You can write and execute JavaScript code without leaving the editor. This editor will treat everything you write in files with a .js extension as JavaScript code. This code editor will also highlight errors in your code as you write and make it easy to debug.
- It has an integrated terminal: You don’t have to leave the code editor to run commands to create new folders or files or do version control. This terminal also allows you to view error messages.
- A big ecosystem: You can always look for extensions if the feature you are looking for is not supported by VS Code out of the box. You can use such extensions for extra features and get support for various libraries and frameworks.
- Hot reloading and live server: You can enable autosave for your JavaScript code on VS Code. The live server option also allows you to run JavaScript code on your browser as you code. The hot reload feature ensures that the code editor automatically picks all the changes, and you don’t have to restart the live server.
- IntelliSense and Code Completion: Sometimes code editors just need you to start writing code and will offer suggestions through intelligent code suggestion and autocompletion. This feature will save you time; you just need to focus on logic.
You can install VS Code on macOS, Linux, and Windows. This code editor also supports TypeScript, a superscript of JavaScript that introduces types.
Running JavaScript in VS Code
Setting an environment for running JavaScript code is easy, irrespective of your operating system. Ideally, your machine should have at least 4GB of RAM for these installations. Follow these steps to get started.
Set up Node.js
Node.js is one of the most popular JavaScript runtime environments. With Node.js, you can run JavaScrpt outside a browser environment. Node.js has also made it possible to use JavaScript in backend development with its frameworks like Express.js.
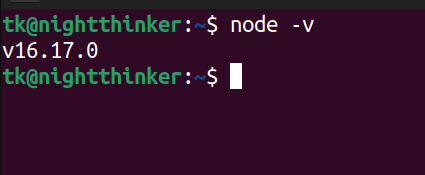
You can download Node.js for free if you don’t have it on your machine already. You can also check if it is installed on your machine using this command:
node -vIf it is installed, you will see something like this on your terminal:
Setting Up Visual Studio Code for Javascript Development
Visual Studio Code can be described as a code editor and an IDE, depending on the use case. VS Code supports JavaScript by default. However, some JavaScript features will need extensions to execute.
VS Code is free to download. You can pick the relevant version for download based on your operating system.
Creating a JavaScript Project
You now have the basic software (runtime environment and code editor) for creating a JavaScript application. JavaScript is used to add interactivity to websites and is mostly used with HTML and CSS. However, you can also use it for scripting and data structures.
I can now create a simple application and call it JavaScript-VsCode-app.
You can use these commands:
mkdir JavaScript-VSCode-appcd JavaScript-VSCode-apptouch app.jscode .Writing JavaScript Code in Visual Studio Code
For this demonstration, I will only write JavaScript code. This is how our project looks like on the code editor.
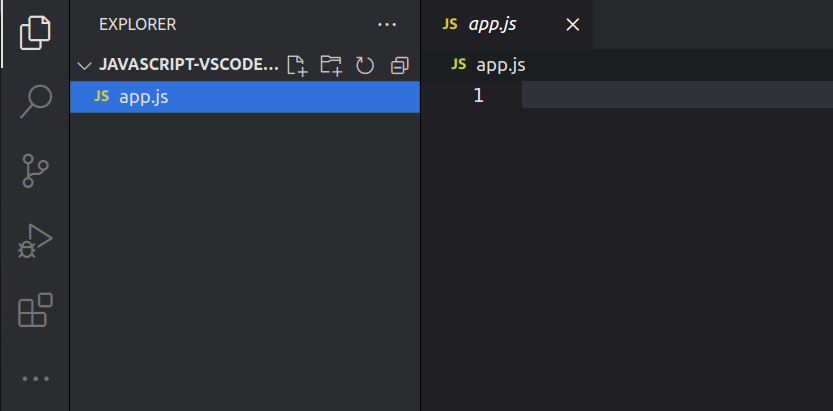
As you can see, we only have one file (app.js). I can now write a simple program that checks if a number is even. I will write my code on the app.js file. This is my code:
function isEven(number) {
    return number % 2 === 0;
}
// Example usage:
let myNumber = 8;
if (isEven(myNumber)) {
    console.log(myNumber + " is even.");
} else {
    console.log(myNumber + " is odd.");
}
Running JavaScript code in Visual Studio Code
We are now ready to run JavaScript in the VS Code. However, we need to understand what this code does. We have a function we have named ‘isEven’. Our function takes a number and returns ‘true ’ if the number is divisible by two. However, if the number is not divisible by two, it will return ‘false’.
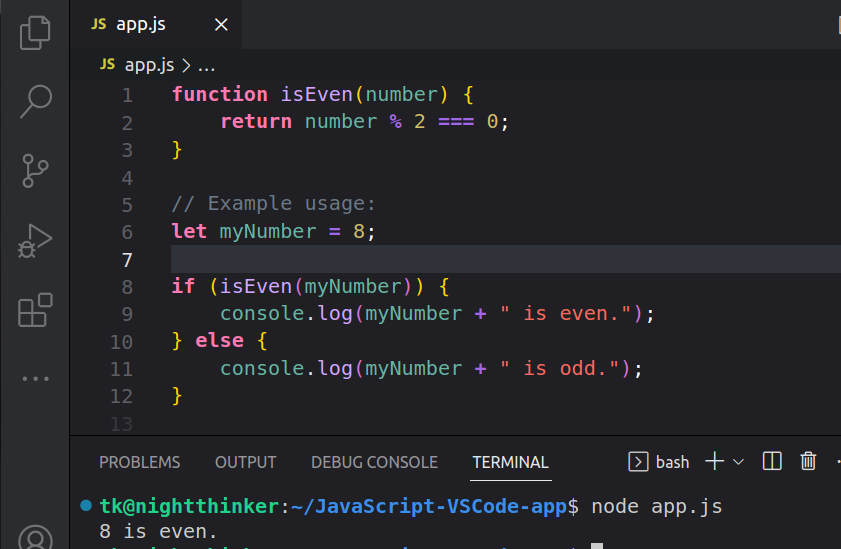
We can now run this command:
node app.jsYou can run it on the root directory or the VS Code terminal.
After running the code we provided in the last step, we get ‘8 is even’ as the output.
What if we check whether 9 is even? We can change our code as follows:
function isEven(number) {
    return number % 2 === 0;
}

// Example usage:
let myNumber = 9;
if (isEven(myNumber)) {
    console.log(myNumber + " is even.");
} else {
    console.log(myNumber + " is odd.");
}
This is what we get after we run our code:
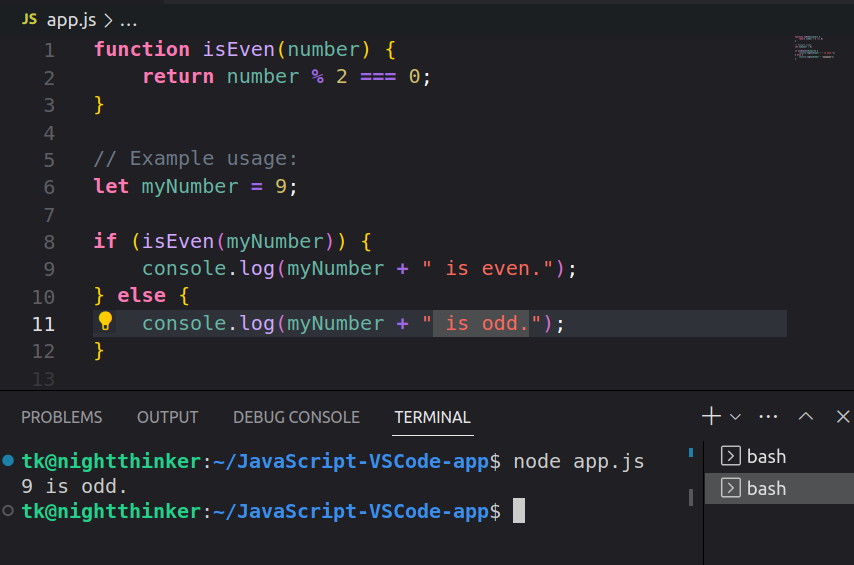
As you can see, ‘9 is odd’ is our output.
Add necessary extensions
The program we have created above is simple. However, you may want to build a complex app where you need to lint your code or even debug. On the left-hand side of the VS Code, click on the second last button.
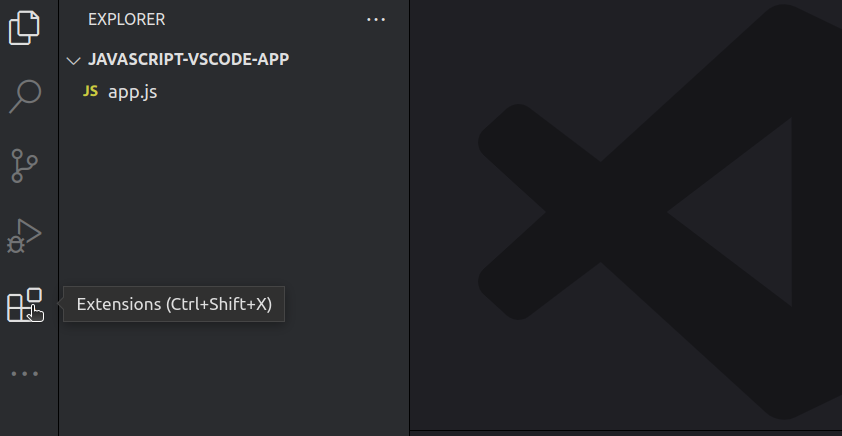
You can also use keyboard shortcuts: CTRL+Shift+X.
You can now search for various extensions to use on your code. For instance, I can search for ESLint.
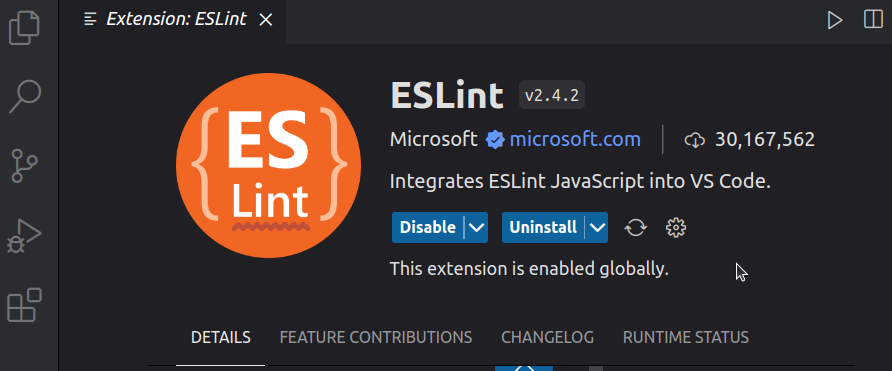
You can see the extensions are already enabled on my side. Always check the description of various extensions to make them easy to configure and use.
Use Code Runner Extension
Visual Studio Code supports hundreds of programming languages. You can use Code Runner to execute codes in most common programming languages. Locate the extensions tab on the left side of your VS Code and search for Code Runner.
Click install and enable the extension, and you are now ready to run your code. I have a simple statement saying console.log(“Hello, World!”); in my app.js file. I can run it using Code Runner. I will use the F1 shortcut and type RUN CODE.
This is what I get on my terminal:
[Running] node "/home/tk/JavaScript-VSCode-app/app.js"
Hello, World!
[Done] exited with code=0 in 2.106 seconds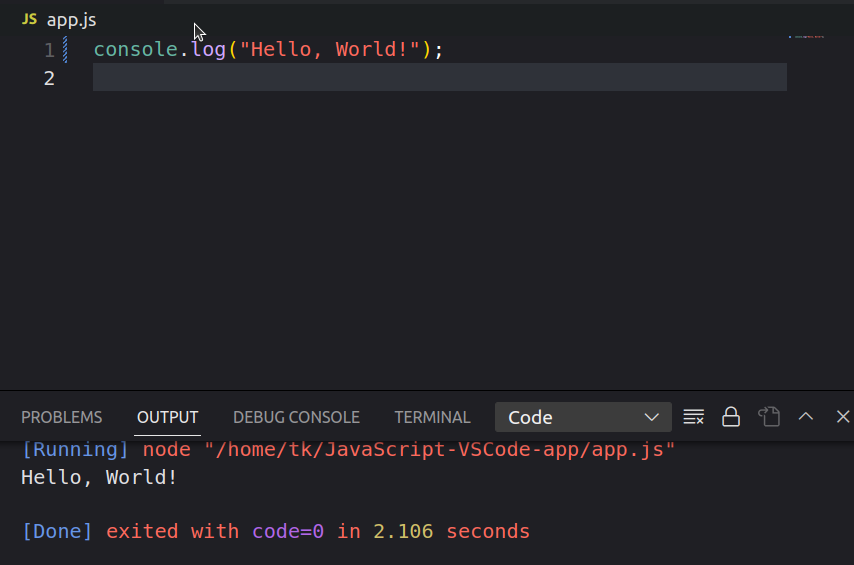
Best Practices for Writing JavaScript Code Efficiently
The setup we have so far is perfect for simple JavaScript programs. However, you must keep these best practices in mind if you want to run JavaScript on VS Code smoothly:
- Use a code linter: Readability might become an issue as the size of your JavaScript file increases. You can use an extension such as Prettier ESLint to ensure you catch errors in your code early and increase the readability of your code.
- Keep different languages in different files: A typical front-end project may require you to write HTML, CSS, and JavaScript code. You may be tempted to write all the code in one document. However, always ensure you write your HTML, CSS, and JavaScript code in different files.
- Take advantage of extensions: VS Code marketplace has thousands of extensions that make it easy to work with various libraries. Explore the marketplace and pick extensions with the best ratings and documentation.
Setting up Git in Visual Studio Code for Version Control Integration
We have so far given the steps for setting up VS Code and running JavaScript on this code editor. However, you may need to use version control like Git to track changes to your code or even push them to a remote repository like GitHub. These are the steps to follow:
- Install Git: Git is the most used version control in development. Download Git version that suits your operating system and machine specifications. You can run this command after installation to check your Git version:
git -vIf you have installed it correctly, you will have something similar to this on your terminal:

- Initialize a Git repository: You can track all your changes and commit (stage) them on Git. Run this command from the root of your project folder:
git init
- Configure your Git identity: You must tell Git who you are by setting up your username and email. Run these commands to get started:
git config --global user.name "Your Name"
git config --global user.email "<a href="mailto:[email protected]">[email protected]</a>"
Replace ‘Your Name’ and ‘[email protected]’ with the relevant details.
- Stage and commit changes: You have now configured Git and can now stage and commit your changes. Run this command to check all the untracked files:
git statusYou can now see all the untracked and uncommitted files.

Run this command to stage the changes:
git add .Run git status again, and you will see something similar to this:
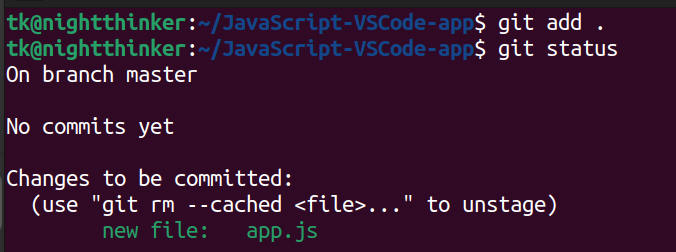
You can now commit your files. Run this command:
git commit -m “your commit message”Replace “your commit message” with something that describes your actions.

You can now connect your source control with remote repository platforms such as GitHub.
Conclusion
We now hope you understand how to create an environment and run JavaScript in VS Code. You may need extra extensions to work with JavaScript libraries and frameworks on this code editor. However, always keep the Visual Studio Code updated if you want to enjoy all the latest features.
Check out our article on the best resources to learn JavaScript and polish your knowledge.

