Procedure to download & install IBM WAS 9 Network Deployment in Linux environments
IBM released WebSphere Application Server (WAS) 9 initially on their cloud – Bluemix. And now it’s available for you to download and install it.
I hope installation procedure will remain similar to the previous version but let’s see how it goes. If you are new to WebSphere then don’t forget to a chekout little introduction about it.
In this article, I’ll explain step-by-step from where to download WAS 9 and install it using IBM Installation Manager.
Download & Install IBM IM 1.8.5
IBM IM 1.8.5 or later is required to install WebSphere 9 so let’s get it installed.
- Download IM 1.8.5 from the following location
http://www-01.ibm.com/support/docview.wss?uid=swg24041188#DNLD
I am not sure if it will work but you may try this direct link to download as well.
https://ak-delivery04-mul.dhe.ibm.com/sdfdl/v2/sar/CM/RA/06737/0/Xa.2/Xb.jusyLTSp44S03Q_q0Cd0hj9IqGeCC6EMY3WOBoWlDBTgttmTrTwqps88Q0Y/Xc.CM/RA/06737/0/agent.installer.linux.gtk.x86_64_1.8.5000.20160506_1125.zip/Xd./Xf.LPR.D1VC/Xg.10339932/Xi.habanero/XY.habanero/XZ.-asK8WoM4XRts1YNlqJTpBY6llI/agent.installer.linux.gtk.x86_64_1.8.5000.20160506_1125.zipIt’s around 164 MB for Linux 64bit so based on your internet speed it may take few minutes.
- Once downloaded, you should have the following.
-rw-rw-r--. 1 chandan chandan 171715008 Nov 19 19:00 agent.installer.linux.gtk.x86_64_1.8.5000.20160506_1125.zip- Let’s extract by unzip command
unzip agent.installer.linux.gtk.x86_64_1.8.5000.20160506_1125.zip- After extract, you should see the following
[root@localhost ibmim]# ls -ltr
total 260084
-rwxr-xr-x. 1 root   root       71223 Aug 9 2012 userinstc
-rwxr-xr-x. 1 root   root       71223 Aug 9 2012 userinst
-rwxr-xr-x. 1 root   root       71223 Aug 9 2012 installc
-rwxr-xr-x. 1 root   root       71223 Aug 9 2012 install
-rwxr-xr-x. 1 root   root       71223 Aug 9 2012 groupinstc
-rwxr-xr-x. 1 root   root       71223 Aug 9 2012 groupinst
-rwxr-xr-x. 1 root   root         9926 Feb 25 2016 readme.html
drwxr-xr-x. 11 root   root       77824 May 6 2016 plugins
drwxr-xr-x. 2 root   root         4096 May 6 2016 Offerings
drwxr-xr-x. 3 root   root           16 May 6 2016 jre_7.0.9040.20160504_1613
-rwxr-xr-x. 1 root   root         256 May 6 2016 user-silent-install.ini
-rwxr-xr-x. 1 root   root         202 May 6 2016 userinst.ini
-rwxr-xr-x. 1 root   root         247 May 6 2016 userinstc.ini
drwxr-xr-x. 2 root   root           66 May 6 2016 tools
-rwxr-xr-x. 1 root   root         249 May 6 2016 silent-install.ini
-rwxr-xr-x. 1 root   root       10892 May 6 2016 repository.xml
-rwxr-xr-x. 1 root   root         275 May 6 2016 repository.config
drwxr-xr-x. 2 root   root         4096 May 6 2016 native
drwxr-xr-x. 2 root   root         4096 May 6 2016 license
-rwxr-xr-x. 1 root   root         265 May 6 2016 install.xml
-rwxr-xr-x. 1 root   root         198 May 6 2016 install.ini
-rwxr-xr-x. 1 root   root         243 May 6 2016 installc.ini
-rwxr-xr-x. 1 root   root         200 May 6 2016 groupinst.ini
-rwxr-xr-x. 1 root   root         245 May 6 2016 groupinstc.ini
drwxr-xr-x. 13 root   root         4096 May 6 2016 documentation
drwxr-xr-x. 3 root   root           48 May 6 2016 configuration
-rwxr-xr-x. 1 root   root         4642 May 6 2016 con-disk-set-inst.sh
It’s time to install IBM IM 1.8.5 now by executing an install file.
./install- it will prompt an installation wizard, click Next
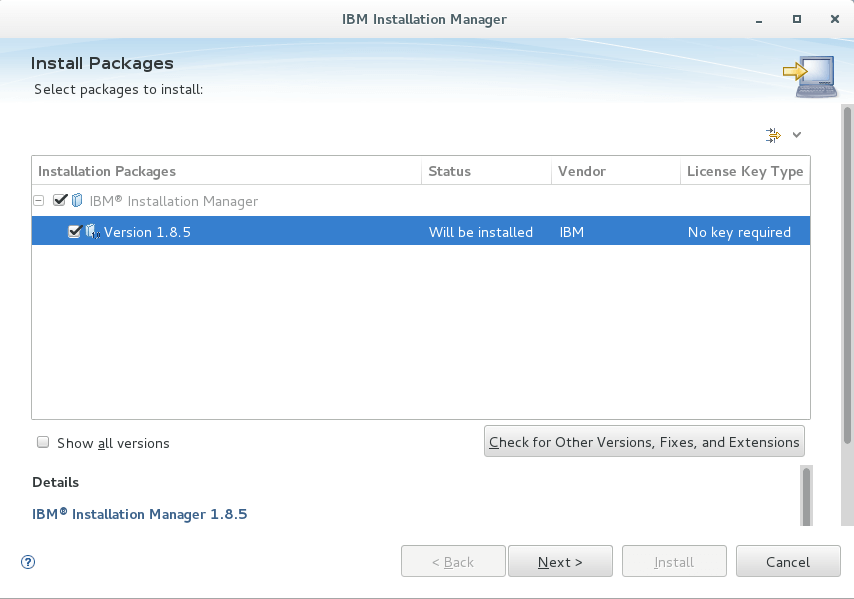
- Accept the license and click Next
- By default, it will install on /opt/IBM however, if you wish to change then you may do on next screen
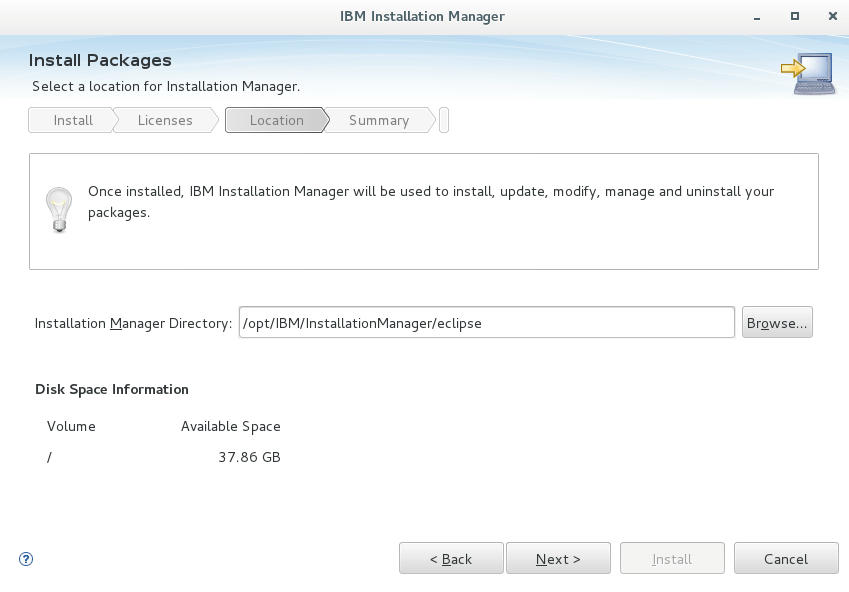
- Review the summary information and click Install
- It will take few seconds and give you the confirmation on successfully installed
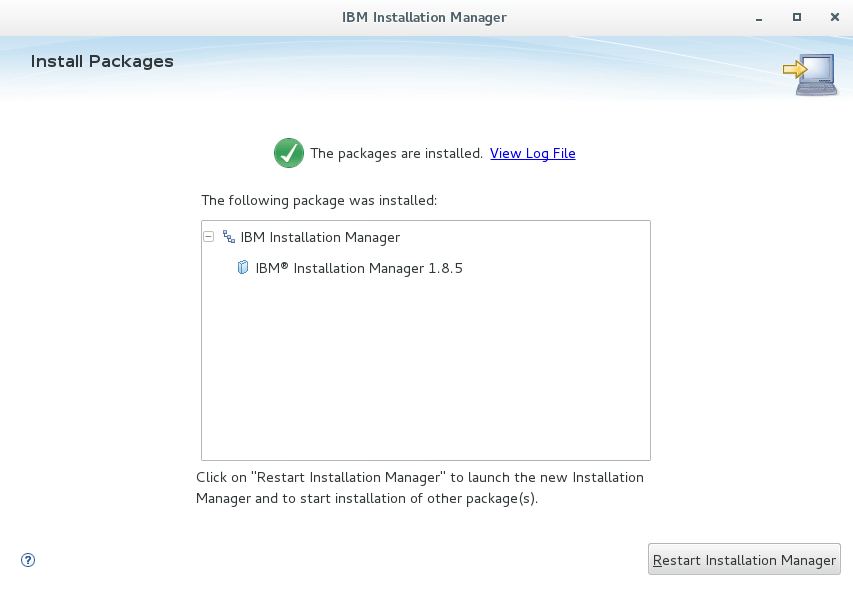
Nice, first pre-requisite is done.
Installing IBM WAS 9
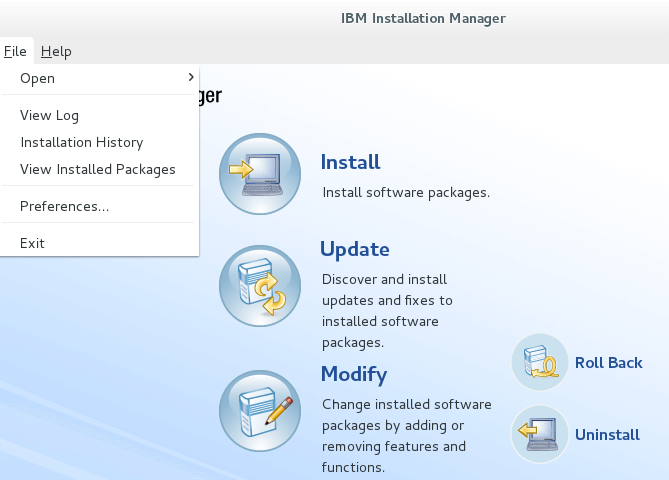
We will install WebSphere using IBM IM through an online repository. If not already, open IBM IM
- Go to File >> Preferences
- Click “Add Repository”, it will open a prompt where you can enter the repository path and click Ok
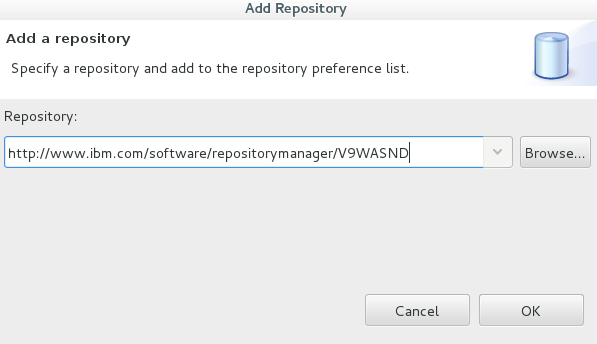
- WAS 9 ND repository – http://www.ibm.com/software/repositorymanager/V9WASND
- WAS 9 base repository – http://www.ibm.com/software/repositorymanager/V9WASBase
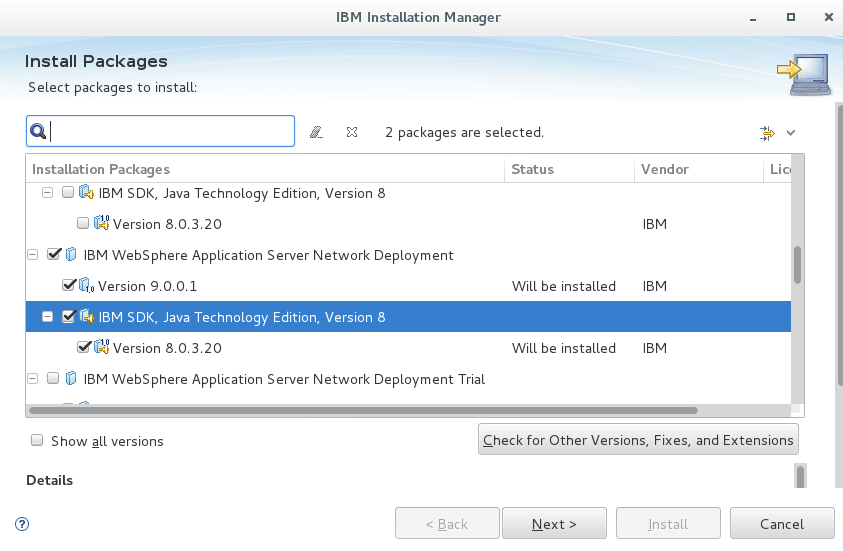
- Click “Install”
- Select the WAS ND 9 & Java 8 from the list and click Next
- Accept the license and click Next
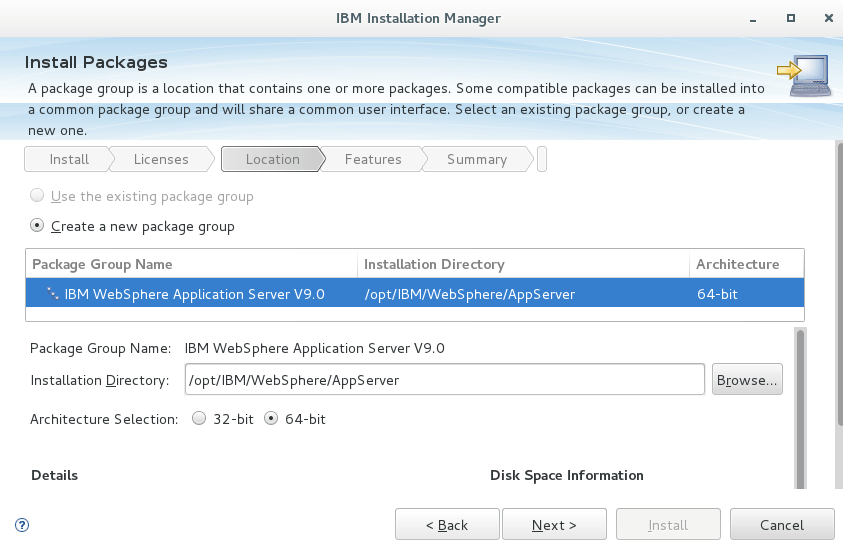
- By default, shared resources will be installed on /opt/IBM/IMShared and if you need, you can change on next screen

- Select the additional language if needed and click Next
- Review the installation summary and click “Install”
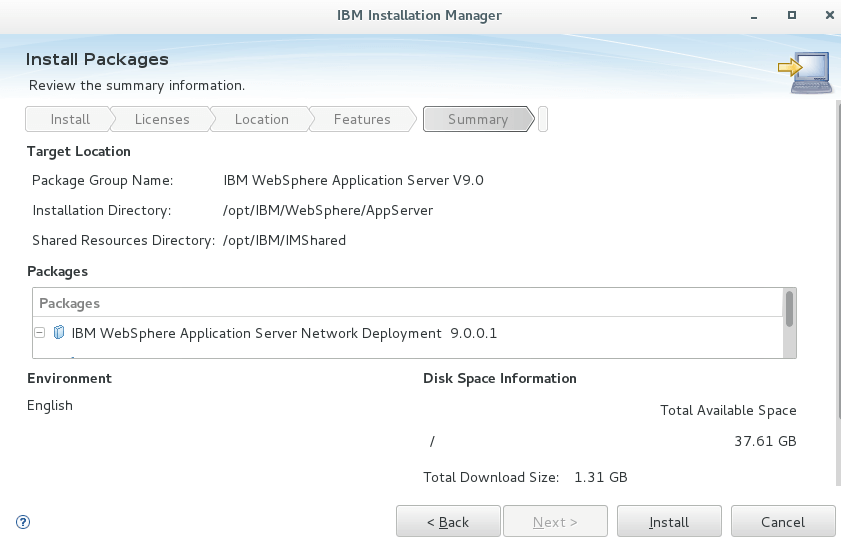
- It will take few minutes to install and once done, you will get the confirmation screen.
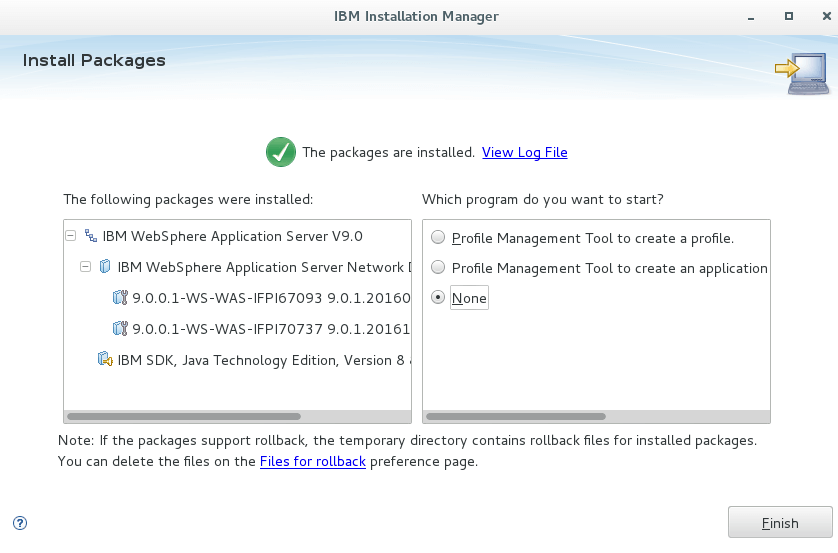
Well done, you’ve successfully installed WAS 9 ND. Stay tuned for next post on profile creation