Carousel or website sliders are slideshows of images or videos on a website. Carousels allow you to feature the most important through a series of images. You can create video or image sliders, but today our focus is on image sliders.
You can present image sliders in a sequential or non-sequential manner. Image sliders are an effective way to tell a story, promote products and create visual page breaks. These sliders come with navigational cues like dots, arrows, and swipe features, allowing users to interact with your content.
You can use image sliders in the following cases;
- Product Showcase: E-commerce platforms use image sliders to display images. You can also use this feature to display new products that you are introducing.
- Portfolio highlights: If you are an agency, artist, graphic designer, or photographer, you can use image sliders to highlight your portfolio.
- Event highlights: You can use an image slider to highlight an upcoming event, list the speakers or highlight key moments of past events.
- Promotions and offers: If you have some offers and promotions you are running, image sliders will come in handy.
Types of Image Sliders

There exist different types of image sliders you can use on your website. You can decide to stick to one type or combine a few, depending on the nature of the content you want to display, your niche, and your target audience. These are some of the most common;
- Image sliders with custom navigation: These sliders have left/right buttons that allow users to navigate through the carousel.
- Animated image sliders: These are image sliders with animation effects.
- Automatic image sliders: You can design image sliders that automatically switch from one image to the next.
- Image sliders with transition effects: You can control the animation speed when users switch from one image to another in a slider using the transition effects.
- Image sliders with parallax effects: It is a design technique where the background images move slower than foreground images, resulting in an effect similar to 2D.
If you are using React to create your UI, you don’t have to create React carousel from scratch, as you can use various libraries. A React carousel library is a collection of pre-made pieces of code that you can use to build image sliders.
Such libraries come with boilerplate code that you can easily customize to suit your needs. They are also built to be responsive to different screen sizes. These are some of the best React Caraousel Libraries you can use today;
Pure React Carousel

Pure React Carousel is a collection of unopinionated React components that you can use to create powerful image sliders. This library provides the bare minimum of JavaScript and styling to function correctly. As a developer, you thus have to provide additional JavaScript and styling to make your carousels functional.
Features
- Created for React: Using this library is easy as it is created using React from the ground up. Simply install the library using npm, import it on your target component, and start creating your carousels.
- Responsive: It does not matter if you are browsing carousels on your smartphone or desktop.
- Supports touch devices: Users no longer have to rely on arrows to browse through images in a carousel as they can swipe through in their touch devices.
- Supports ES6 and CommonJS: You can use Pure React Carousel irrespective of whether you are using CommonJS or ES6.
React Slick

React Slick is a React carousel component that developers can use to build content and image sliders in their applications. You can use package managers like Yarn or npm to install this library or add it directly to your project using CDN links.
Features
- Open source: The source code for React Slick is available on GitHub and is free to use.
- Highly customizable: This library provides boilerplate code that you can customize to suit your needs. You can add more DIVs to your carousel or even delete some.
- Responsive: React Slick is designed for devices with varying screen sizes.
React Responsive Carousel

React Responsive Carousel is a responsive, powerful, lightweight library for building image sliders. This library supports both swipe and keyboard navigation to cater to different users. React Responsive Carousel can create images, text, or video sliders.
Features
- Highly customizable: Use custom arrows, thumbs, status, indicators, or animation handlers with React Responsive Carousel.
- Custom animation duration: This library allows you to set custom animation duration where you set how long it should take before images flip.
- Vertical and horizontal directions: You can use React Responsive Carousel to set horizontal or vertical sliders.
- Server-side rendering compatible: This feature allows users to view a webpage before it is fully loaded on the browser.
React Alice Carousel
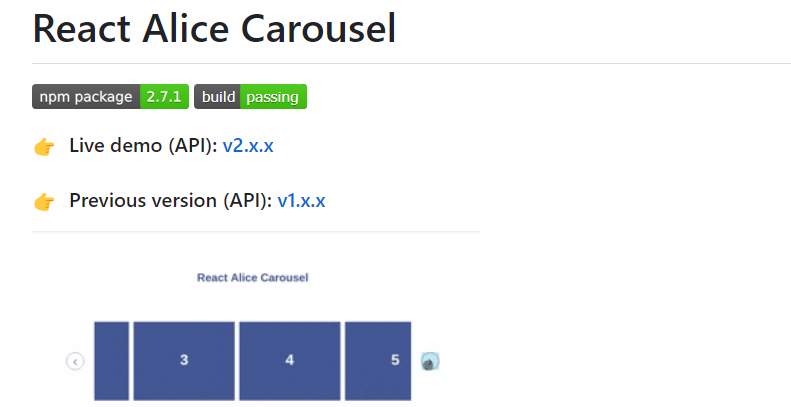
React Alice Carousel is a library for creating carousels, such as content rotators and galleries. The library is designed to produce mobile-friendly carousels that can be used on any screen size. React Alice Carousel supports JavaScript and TypeScript programming languages.
Features
- Swipe to slide: Users can swipe or use navigation arrows to access different images in the carousel.
- Custom animation modes: You can customize the carousel animations to suit your needs.
- Supports lazy loading: You can load only the packages you need to reduce the initial loading time.
- Touch and drag support
- Responsive design: You can use this library with small screens on smartphones and bigger screens like personal computers.
- TypeScript support: You can use React Alice Carousel with TypeScript and JavaScript.
React Spring Carousel

React Spring Carousel is a headless UI library that you can use to build carousels for your React application. This library only takes care of the carousel’s behavior and the internal logic while you (the developer) determine how it will look.
Features
- Composable: React Spring Carousel offers an API but gives you control over how you will place the elements of your carousel.
- Performant: This library is designed to produce natural and smooth transitions.
- Easy to configure: The library’s carousels have many options, and you can pick any that suits your needs best.
- Mobile first and resizeable: The @use-gesture feature makes it easy to use carousels created using this library on mobile screens. The carousels also listen to different resize events and adjust their size accordingly.
React Multi Carousel
React Multi Carousel is a lightweight carousel component you can use in your React apps. This carousel component has no dependencies and also supports server-side rendering. Install the package to your React application, import it to your target component, and start building carousels.
Features
- Fully customizable: Even though this carousel component provides fully-functional carousels, you can still customize the components to suit your needs.
- Swipe to slide: React Multi Carousels supports navigation buttons. However, you can still swipe to navigate different images in your carousel.
- Custom styling: If you need to give your carousels unique designs, you can apply custom styling.
- Multimedia support: You can use this library to create video and image carousels.
- Responsive: React Multi Carousel responds to different screen sizes and adjusts accordingly.
Swiper
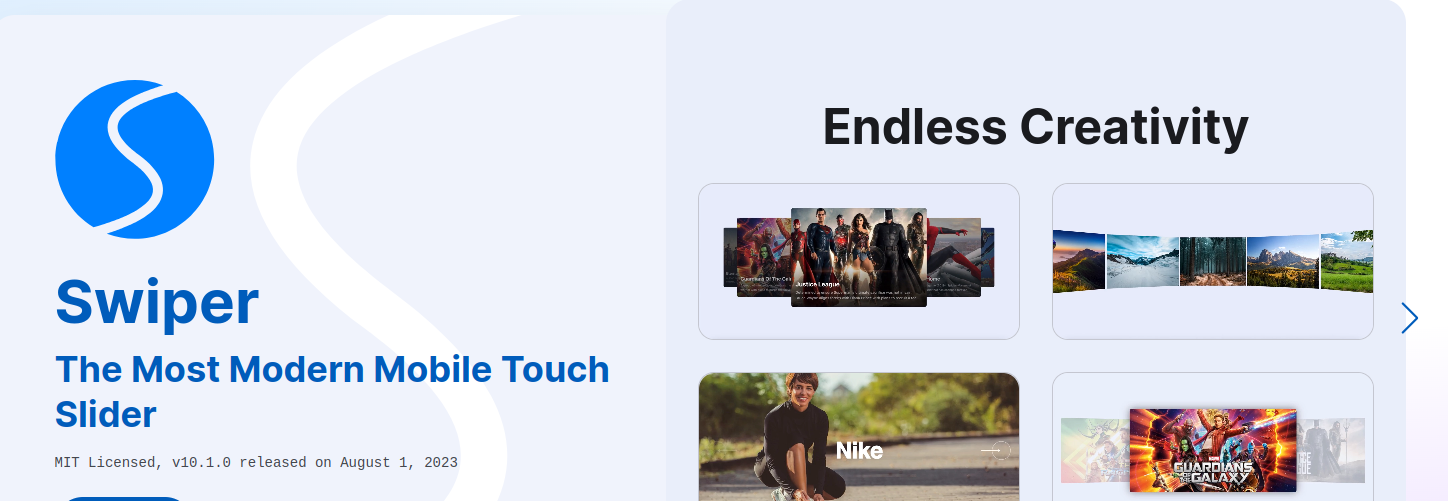
Swiper is an open-source and modern mobile touch slider with native behavior and hardware-accelerated transitions. You can use this touch slider with web apps, mobile native/hybrid apps, and web apps. Swiper is available for vanilla JavaScript, React, Vue.js, and WebComponents.
Features
- Modular structure: Swiper is split into small bits, allowing you to import only the necessary modules. This approach reduces the app size, which eventually reduces the load time.
- Library agnostic: This slider does not rely on libraries like JQuery.
- Variety of transition effects: The library has many transition effects grouped into different categories for easy usage. You can also use 3D effects.
- Virtual slides: You can use this feature when you have slides with heavy content. The DOM will keep only the slides you need in your application.
- Rich API: Swiper’s API is heavily documented. This API also allows you to build custom plugins to extend the functionality of your application.
- Flexible: This touch slider has many parameters, making it flexible in usage.
Nuka

Nuka is a fast, small React carousel library. This library has three configurations; Standard, where users navigate using buttons or gestures at the edge; Autoplay, where slides play at regular intervals and Wrap Around, where users can navigate from the first to the last in any order.
Features
- Customizable: Choose any of the three configurations and customize the code to suit your needs.
- Responsive: Nuka is designed to respond to different screen sizes. Use the carousels on smartphones, tablets, or PCs.
- Well-documented API: Nuka has an API with examples to help create performant carousels.
Best practices for using React carousel libraries
- Keep your slides minimal: You may be tempted to put 20 images in your carousel. This might not be a good option as people lose concentration pretty fast. Have like 5-7 images in one slider.
- Don’t overuse the autoplay feature: You may want your sliders to flip images automatically. However, users may interpret such a setting like an ad and might be tempted to skip your content. You must also know how to set the right timing so the slides don’t move so faster or slower than expected.
- Make navigation easy: You can use dot based system or left/right arrows to help users scroll through your content. Dot based system is minimalistic but works perfectly. If you use the left-right arrows, ensure they are visible and don’t overlap with the images.
- Optimize for SEO: Creating a website is not enough to get the world out there. You need to Search Engine Optimization (SEO) if you want search engines like Google and Bing to crawl your content. You can use the image alt text to add keywords your content is targeting and start giving the search engines some juice.
- Optimize your sliders: If you have big files, your website loading speed might be impacted negatively. You may have taken the best shots, but you must also ensure your website’s performance is up there. You can compress your sliders, apply lazy loading, or even virtual slides to reduce the size of your sliders.
Conclusion
You now have various carousel libraries to create image sliders in your React applications. You can use some of these libraries to create image and video sliders, while others only suit image sliders. Choosing a carousel library will depend on the features you are looking for and your experience.
Checking out our article on how to create image sliders using JavaScript.