
14 Best WeTransfer Alternatives to Share Large Files in 2026
Stay up to date on Tech and Business News. Join Geekflare Newsletter →
Harness the power of the cloud for your business! Explore beginner’s guides, security best practices, top cloud platforms (AWS, GCP), and advanced cloud computing concepts.
14 Best WeTransfer Alternatives to Share Large Files in 2026

AWS Secrets Manager: Everything You Need to Know [2026]
14 Best Multi-Cloud Management Platforms in 2026

11 Best VDI Solutions for Modern Workforces in 2026
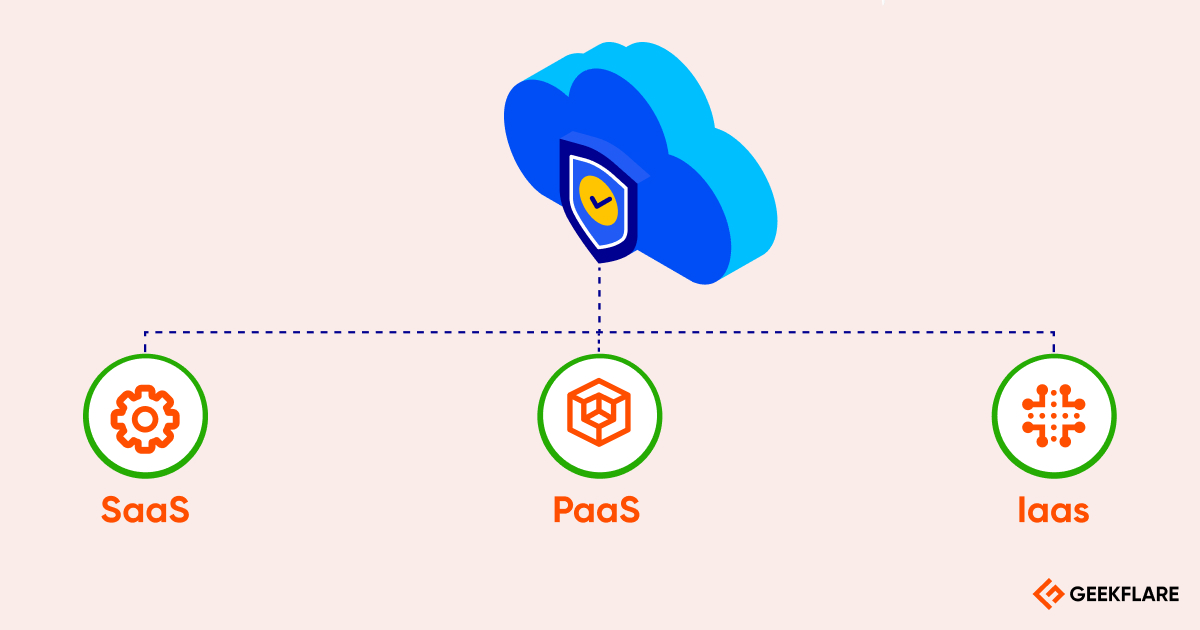
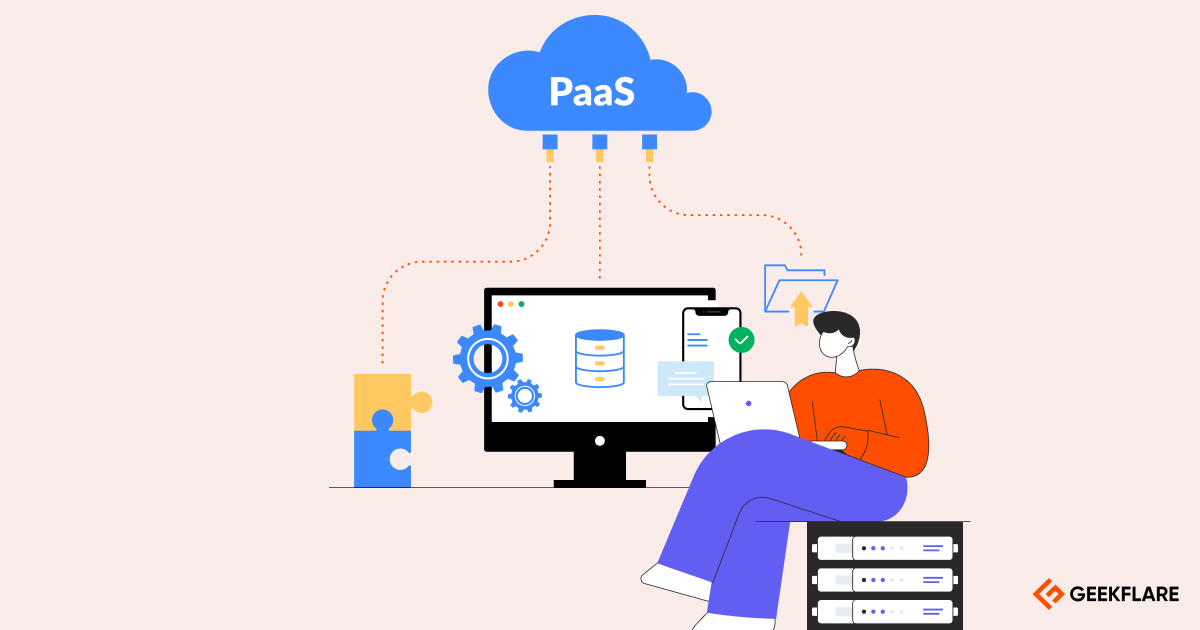
Cloud Service Models Explained – SaaS, PaaS, DaaS, IaaS and More

9 Challenges and Risks in Cloud Computing and Strategies to Prevent Them

15 Best Cloud GPU Providers for AI Workloads

11 Best File Uploaders to Integrate with Your Application

6 Best Streaming Video CDN for Small to Big Business

7 Free Resources to Learn Cloud Computing
Build Your Own Mini PaaS with these 7 Software

An Introduction to Terraform for Beginners – Terraform Tutorial

7 Best Open Source Cloud Platforms for the Enterprise

8 High Performance Cloud Load Balancer for Application HA

Getting Started with Grafana Loki

28 Real-Time Terraform Interview Questions and Answers

G-Core Labs Hosting Review: Reliable Platform for Small to Big Business
Data Center Types Explained in 5 Minutes or Less
How to Delete AWS ECR Untagged and Older Images?
Understanding AWS Key Terminology For Beginners
13 Reasons to Choose AWS as Your Cloud Provider

SaaS Architecture: Best Practices for Scalable Cloud Solutions

Technology Abbreviations & Acronyms Commonly Used

What is SaaS? Understanding Software as a Service

What is Google Drive? A Beginner’s Guide to Cloud Storage
13 Best Dropbox Alternatives [Cheap & Secure]

Top 135 VMware Interview Questions and Answers

Understanding Single Tenant vs. Multi-Tenant in Cloud Computing

Deliver Your Application Content Faster to the Users with G-Core Labs CDN

How to Backup Google Cloud VM Automatically?